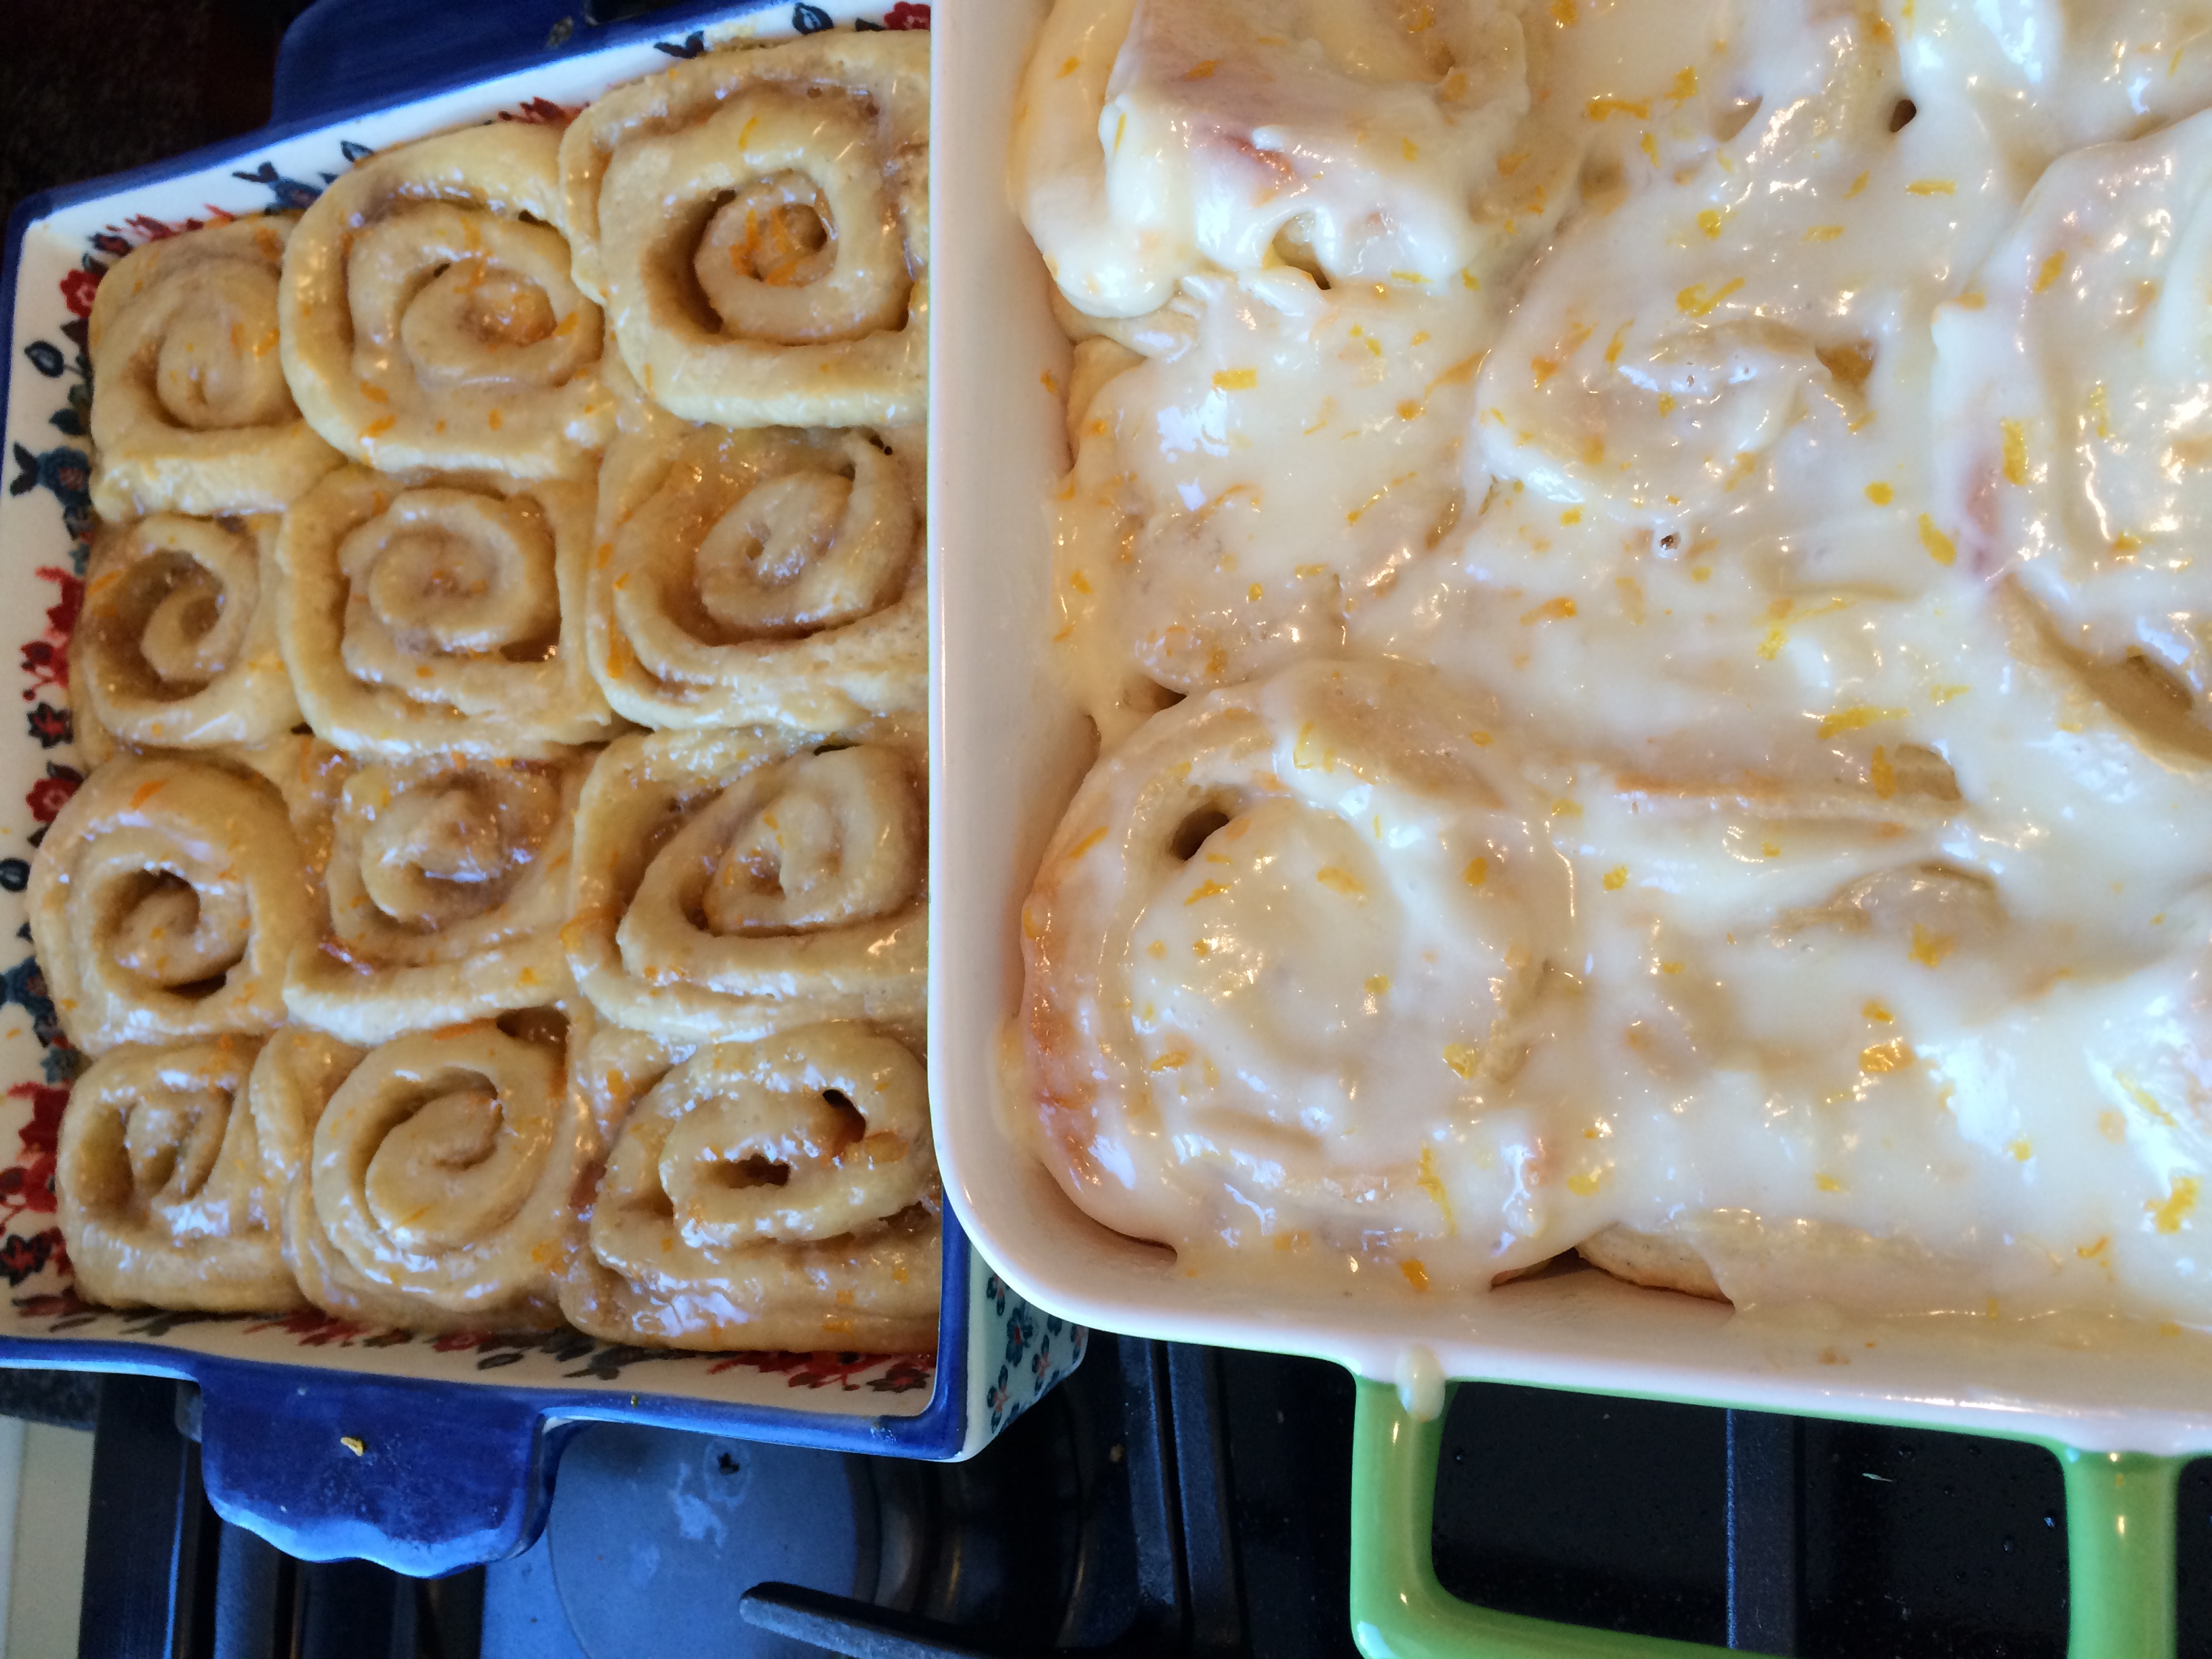
I came across two recipes online that took hold of me and wouldn’t let go! They both sounded so good but couldn’t decide which to make and which would taste better. My husband Roger has been out of town and it is January, so I decided I would have a Sweet Roll Competition in my kitchen.
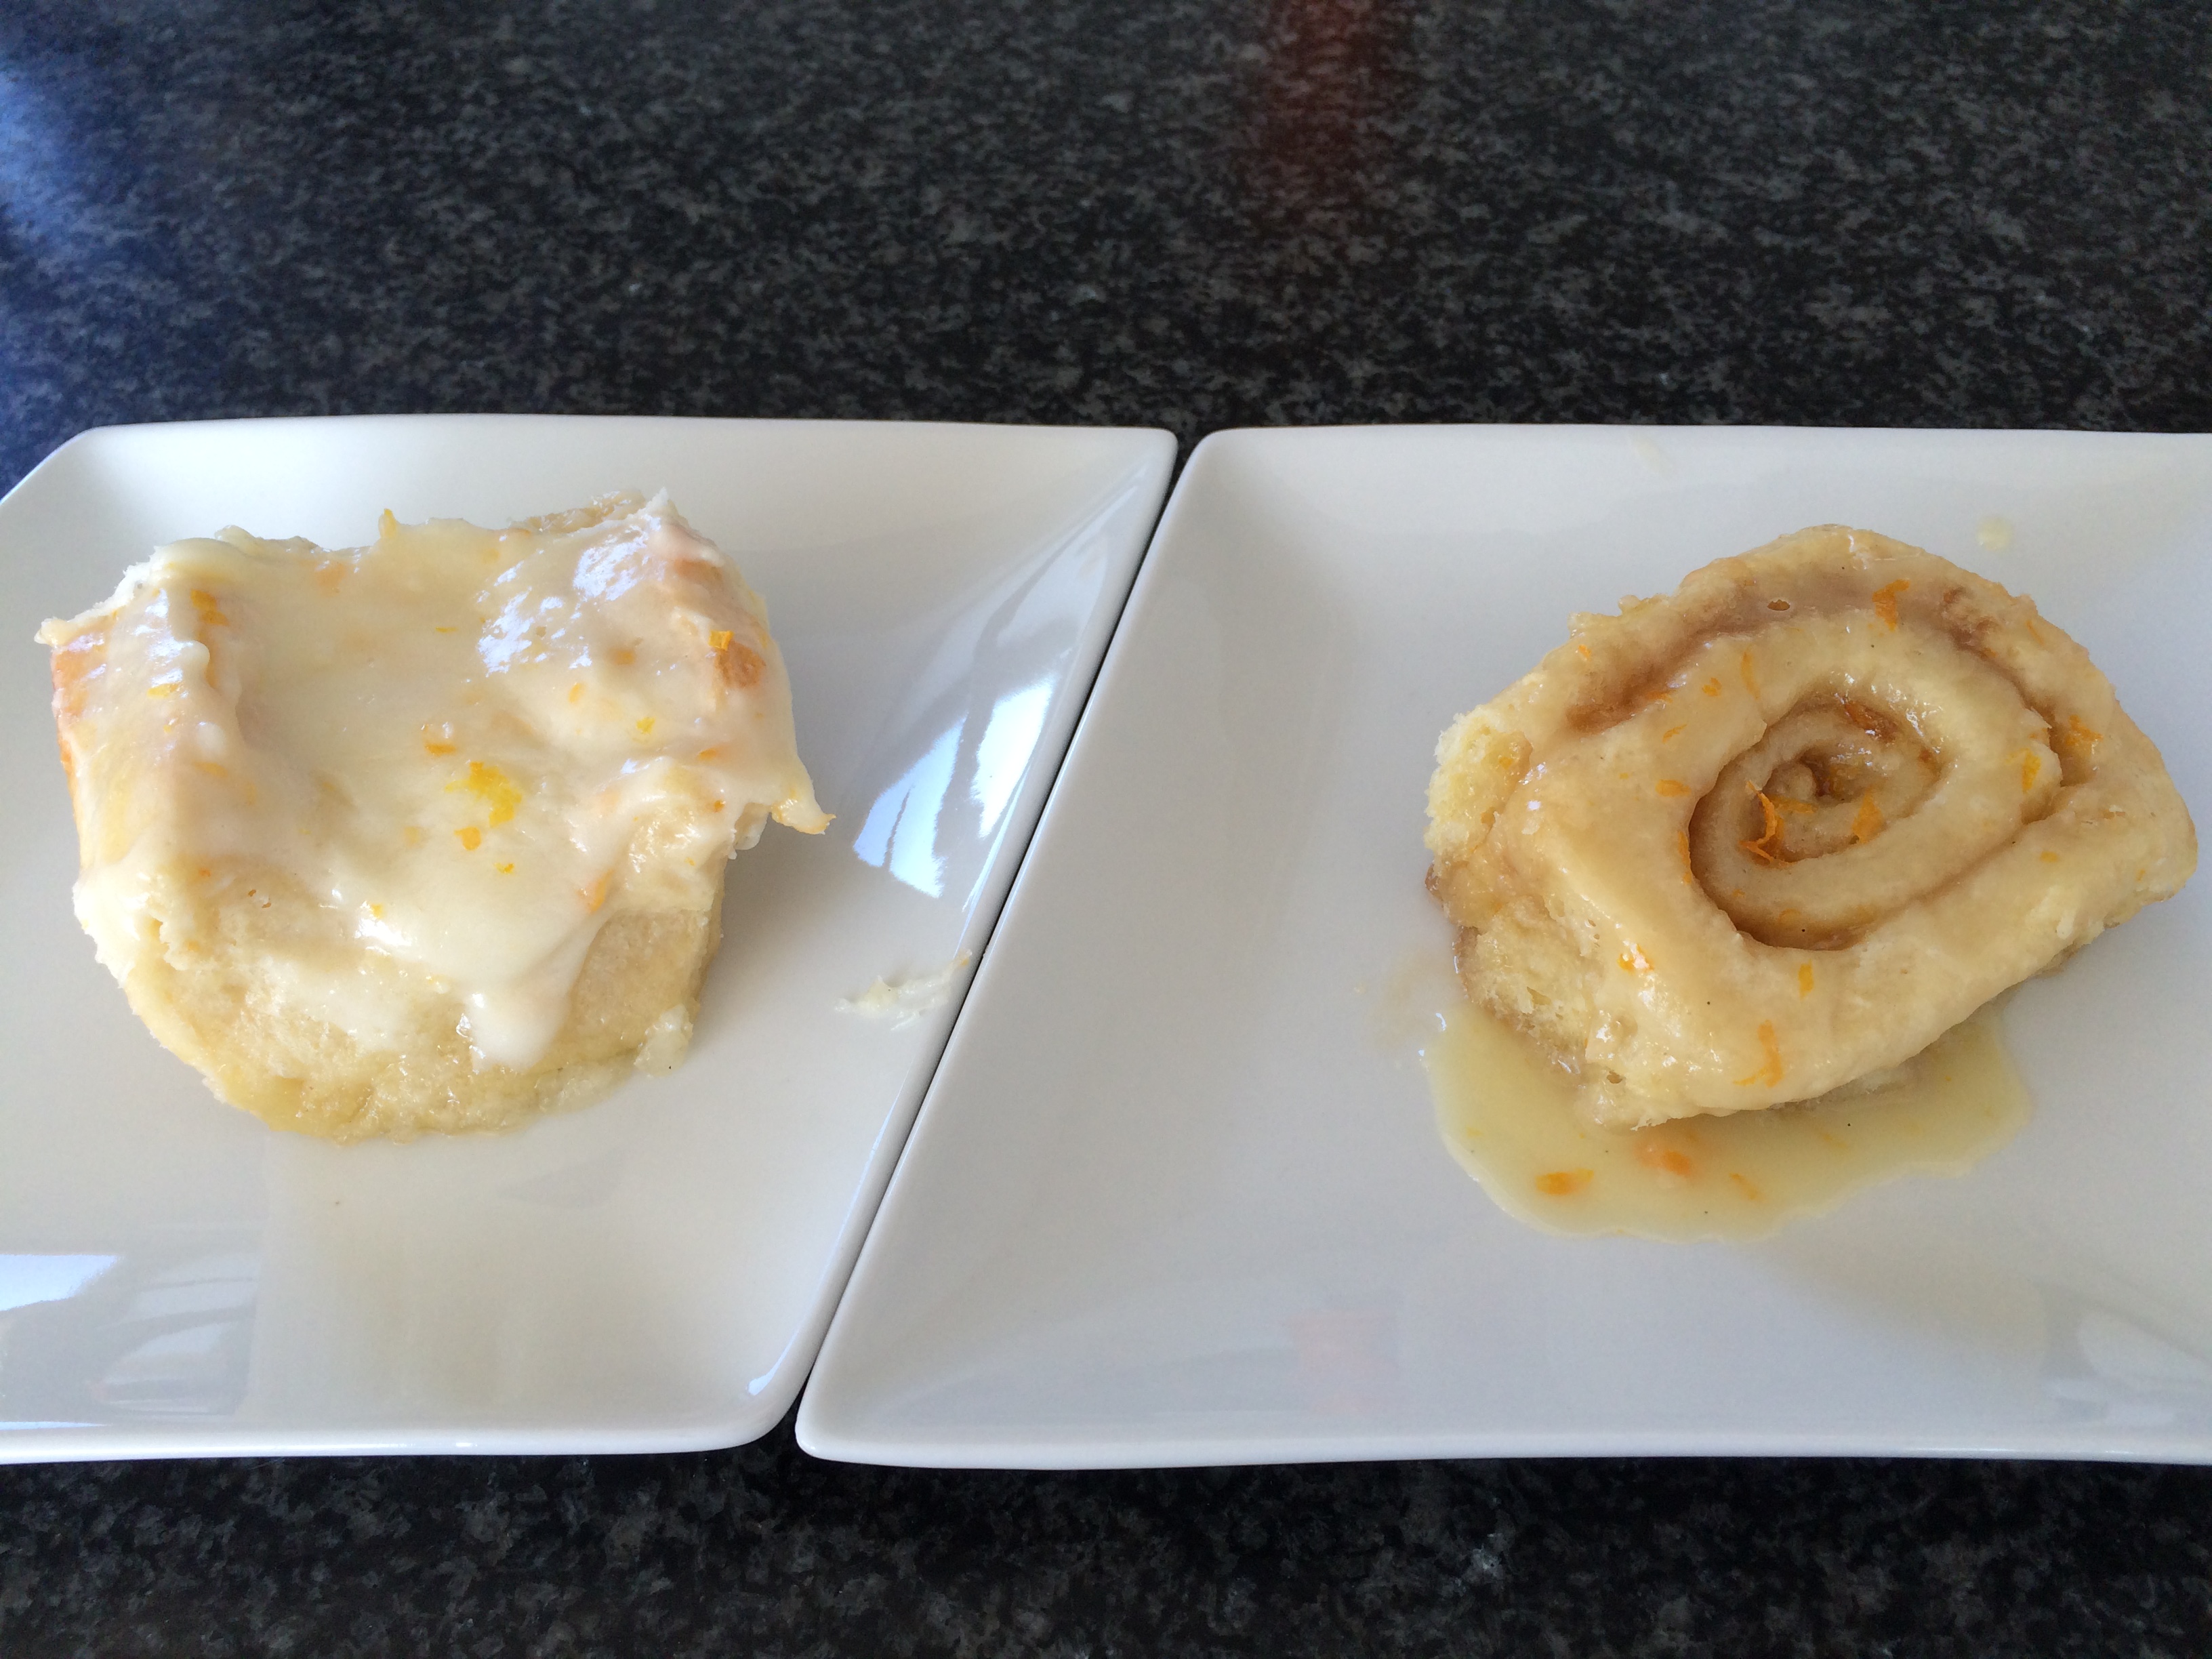
Meet contestant #2
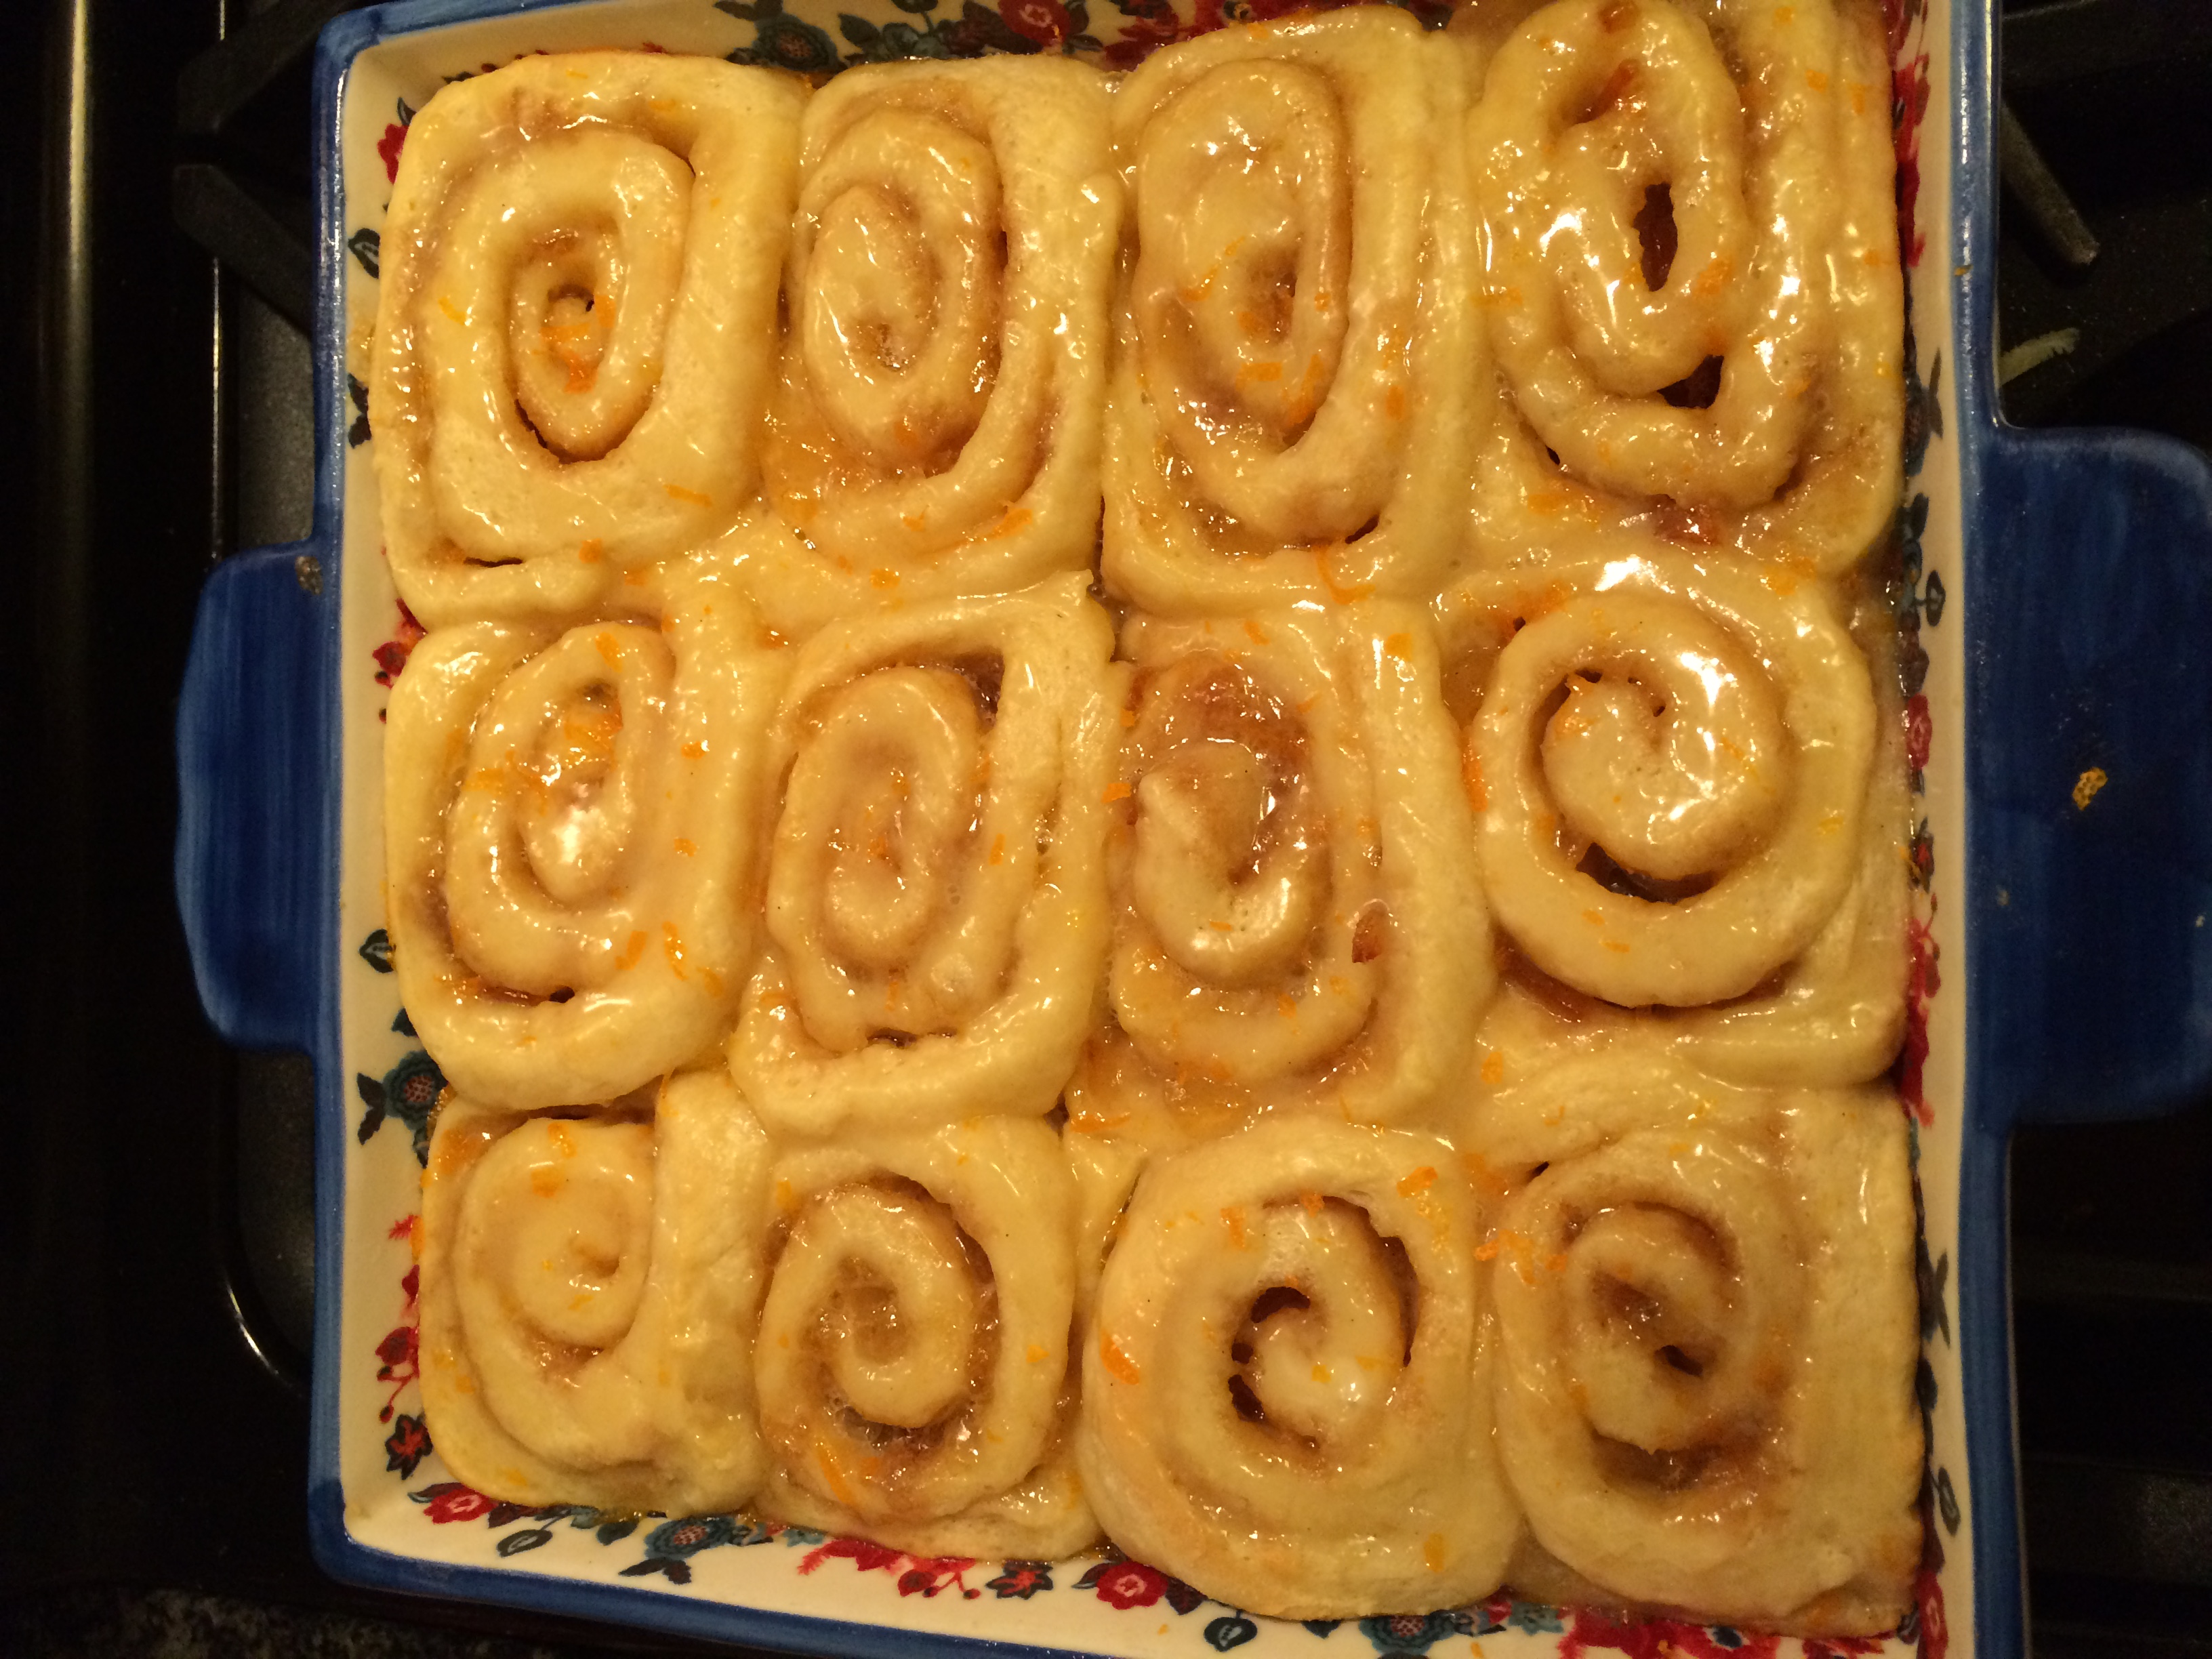
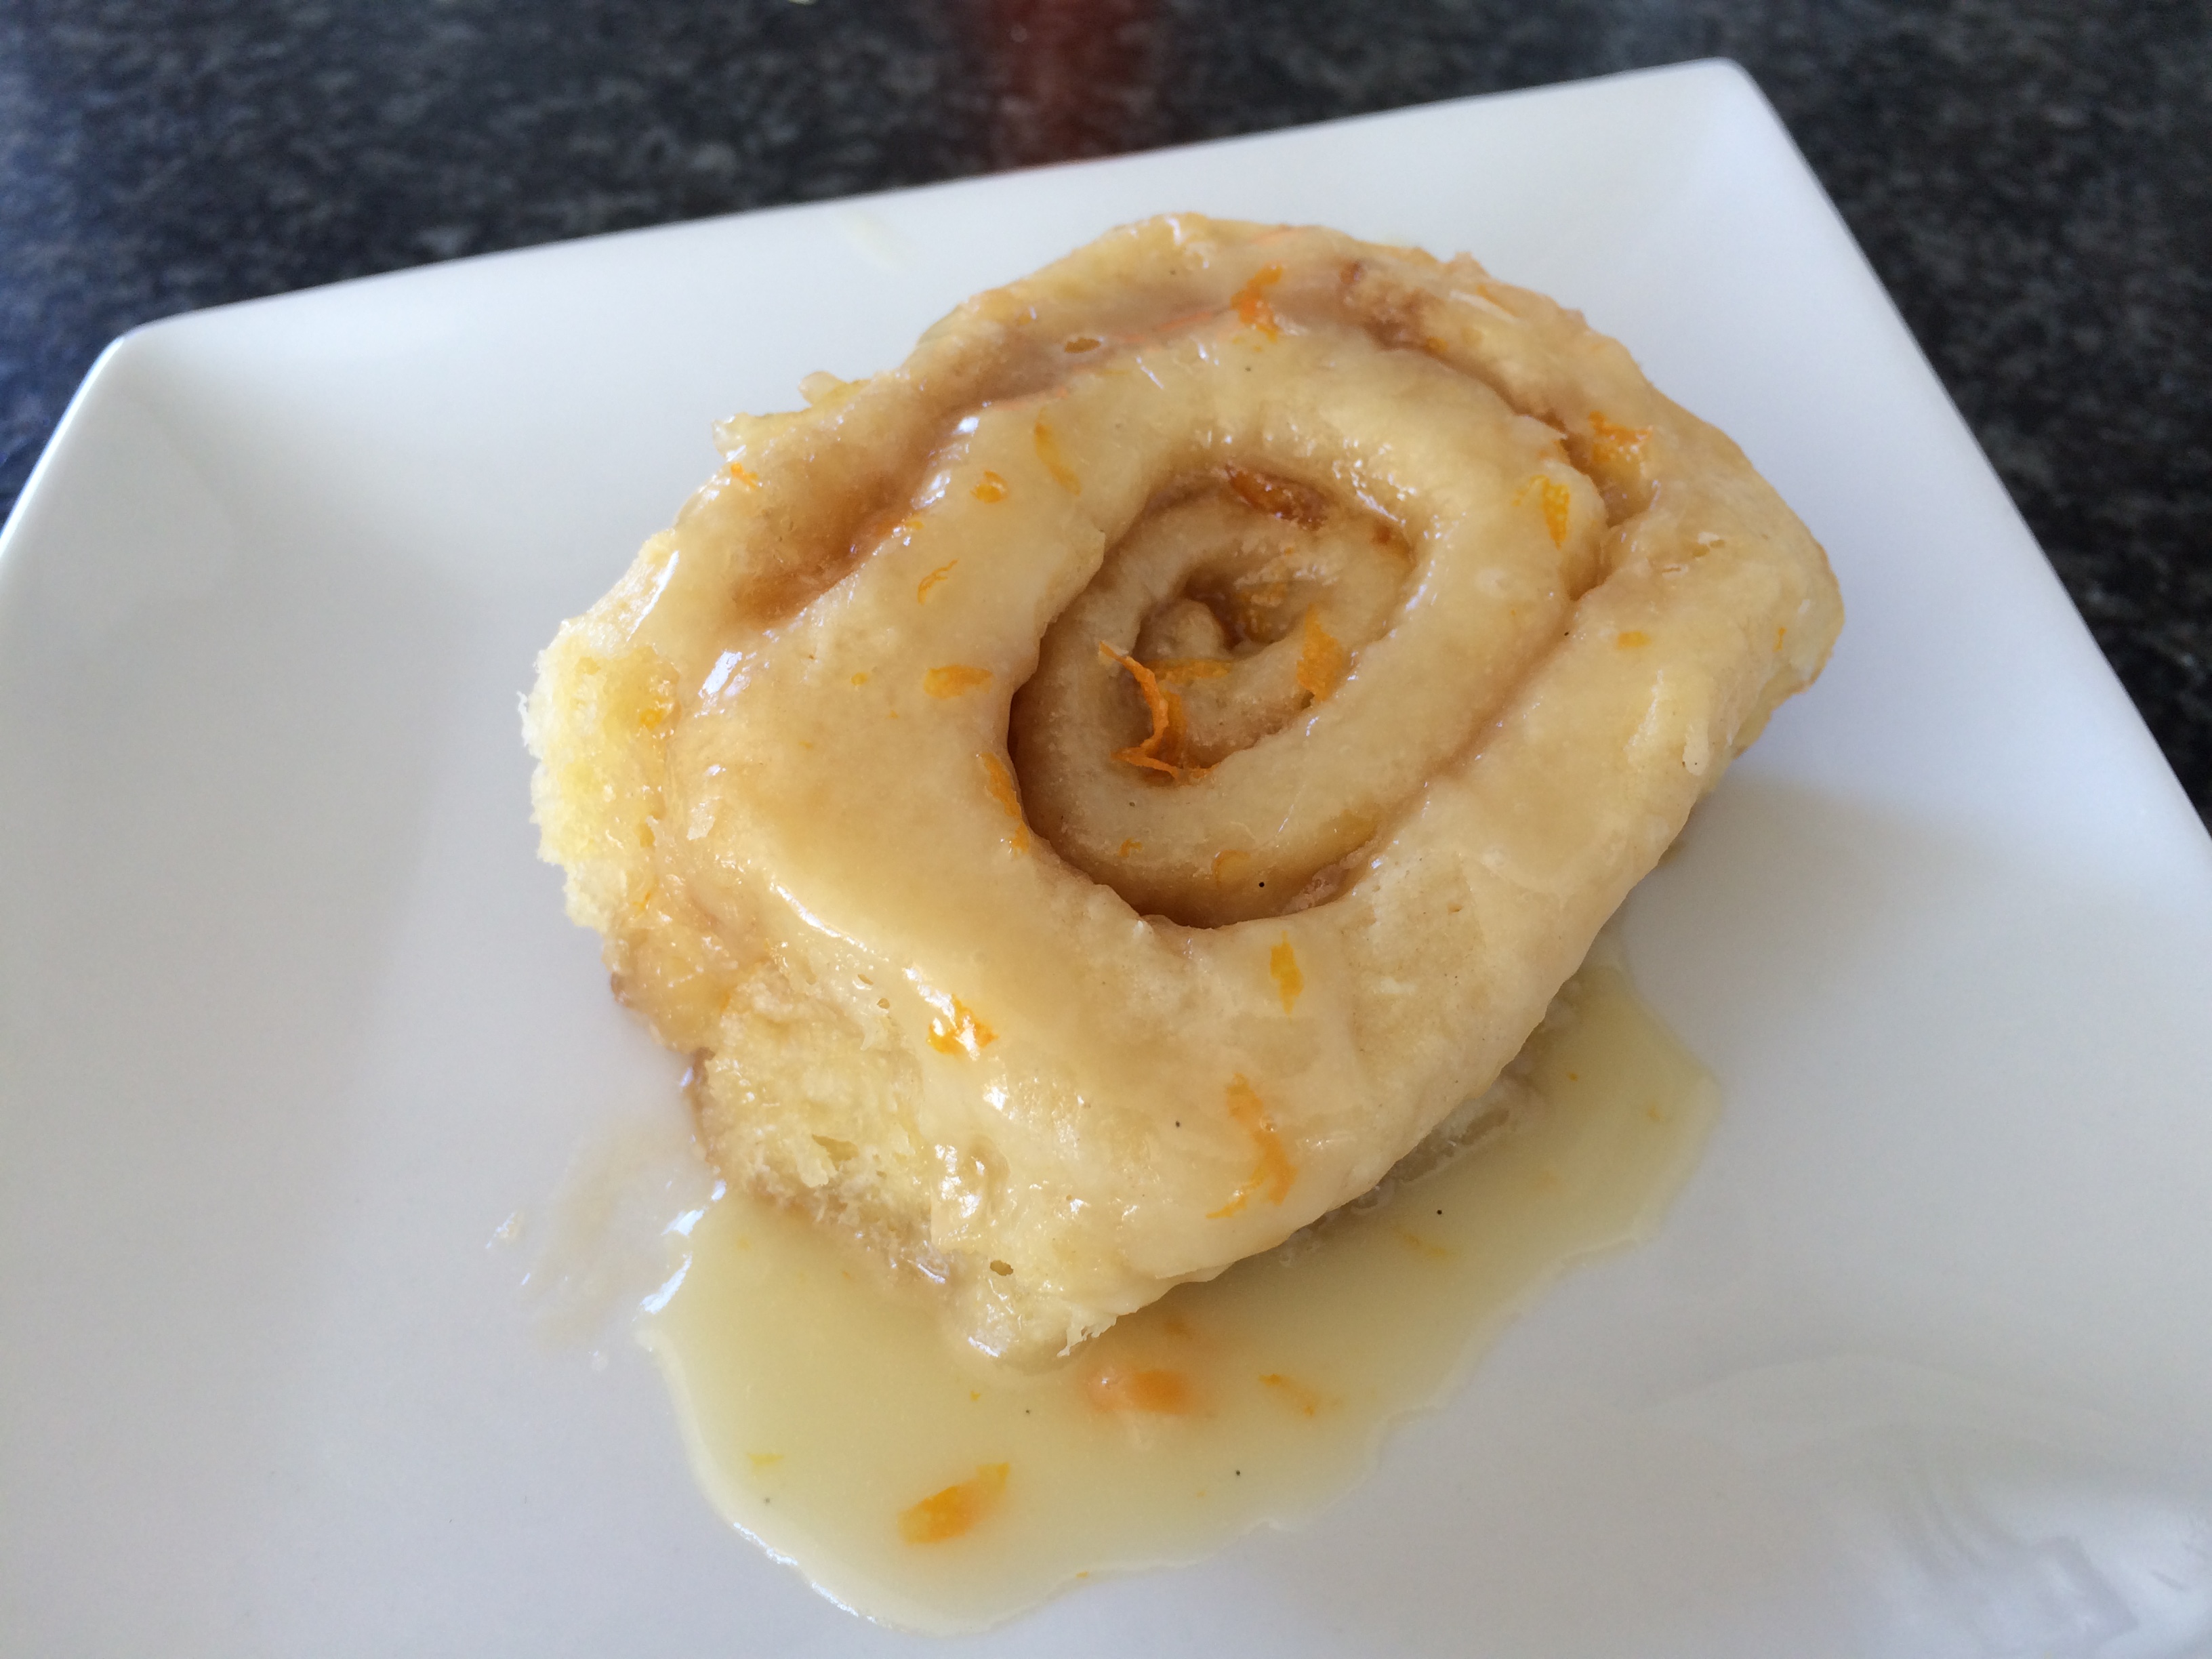
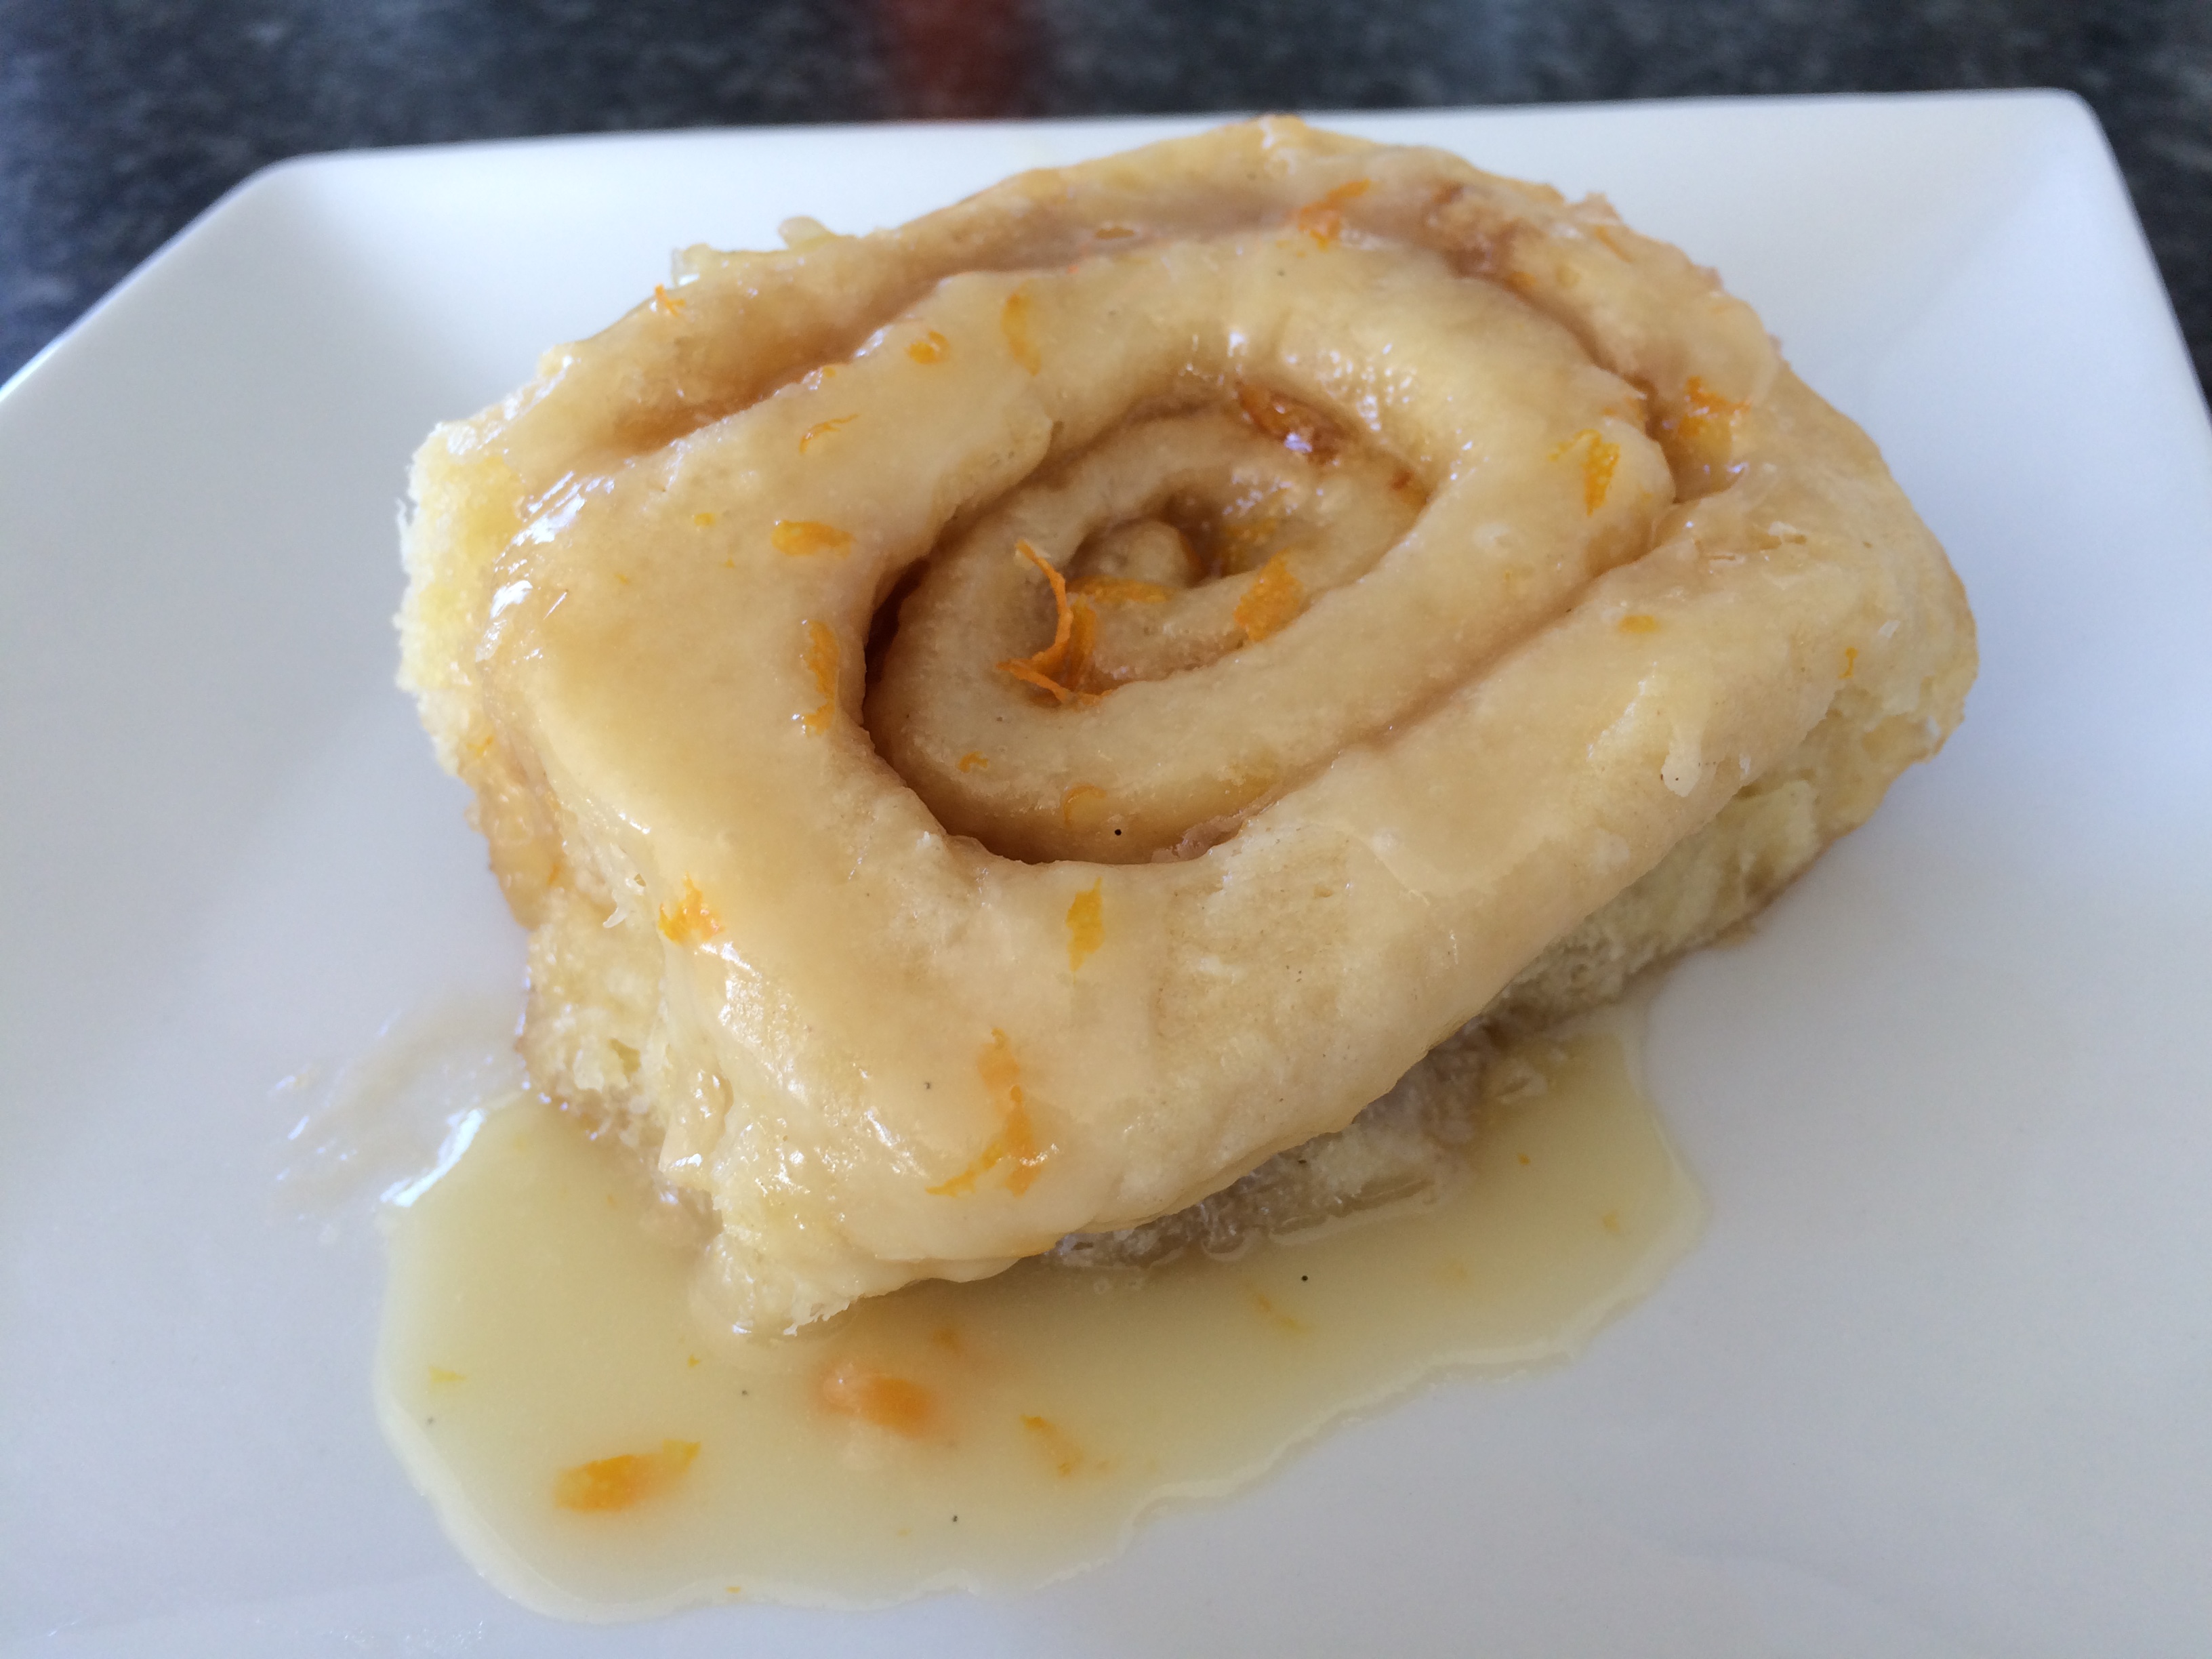
This recipe is from a blog called Averie Cooks. The pictures look amazing! The directions are very thorough. I liked the idea of the orange marmalade in the filling with some brown sugar and a glaze heavy with orange flavor and fresh orange zest. Let the competition begin. May the best roll win!

Results:
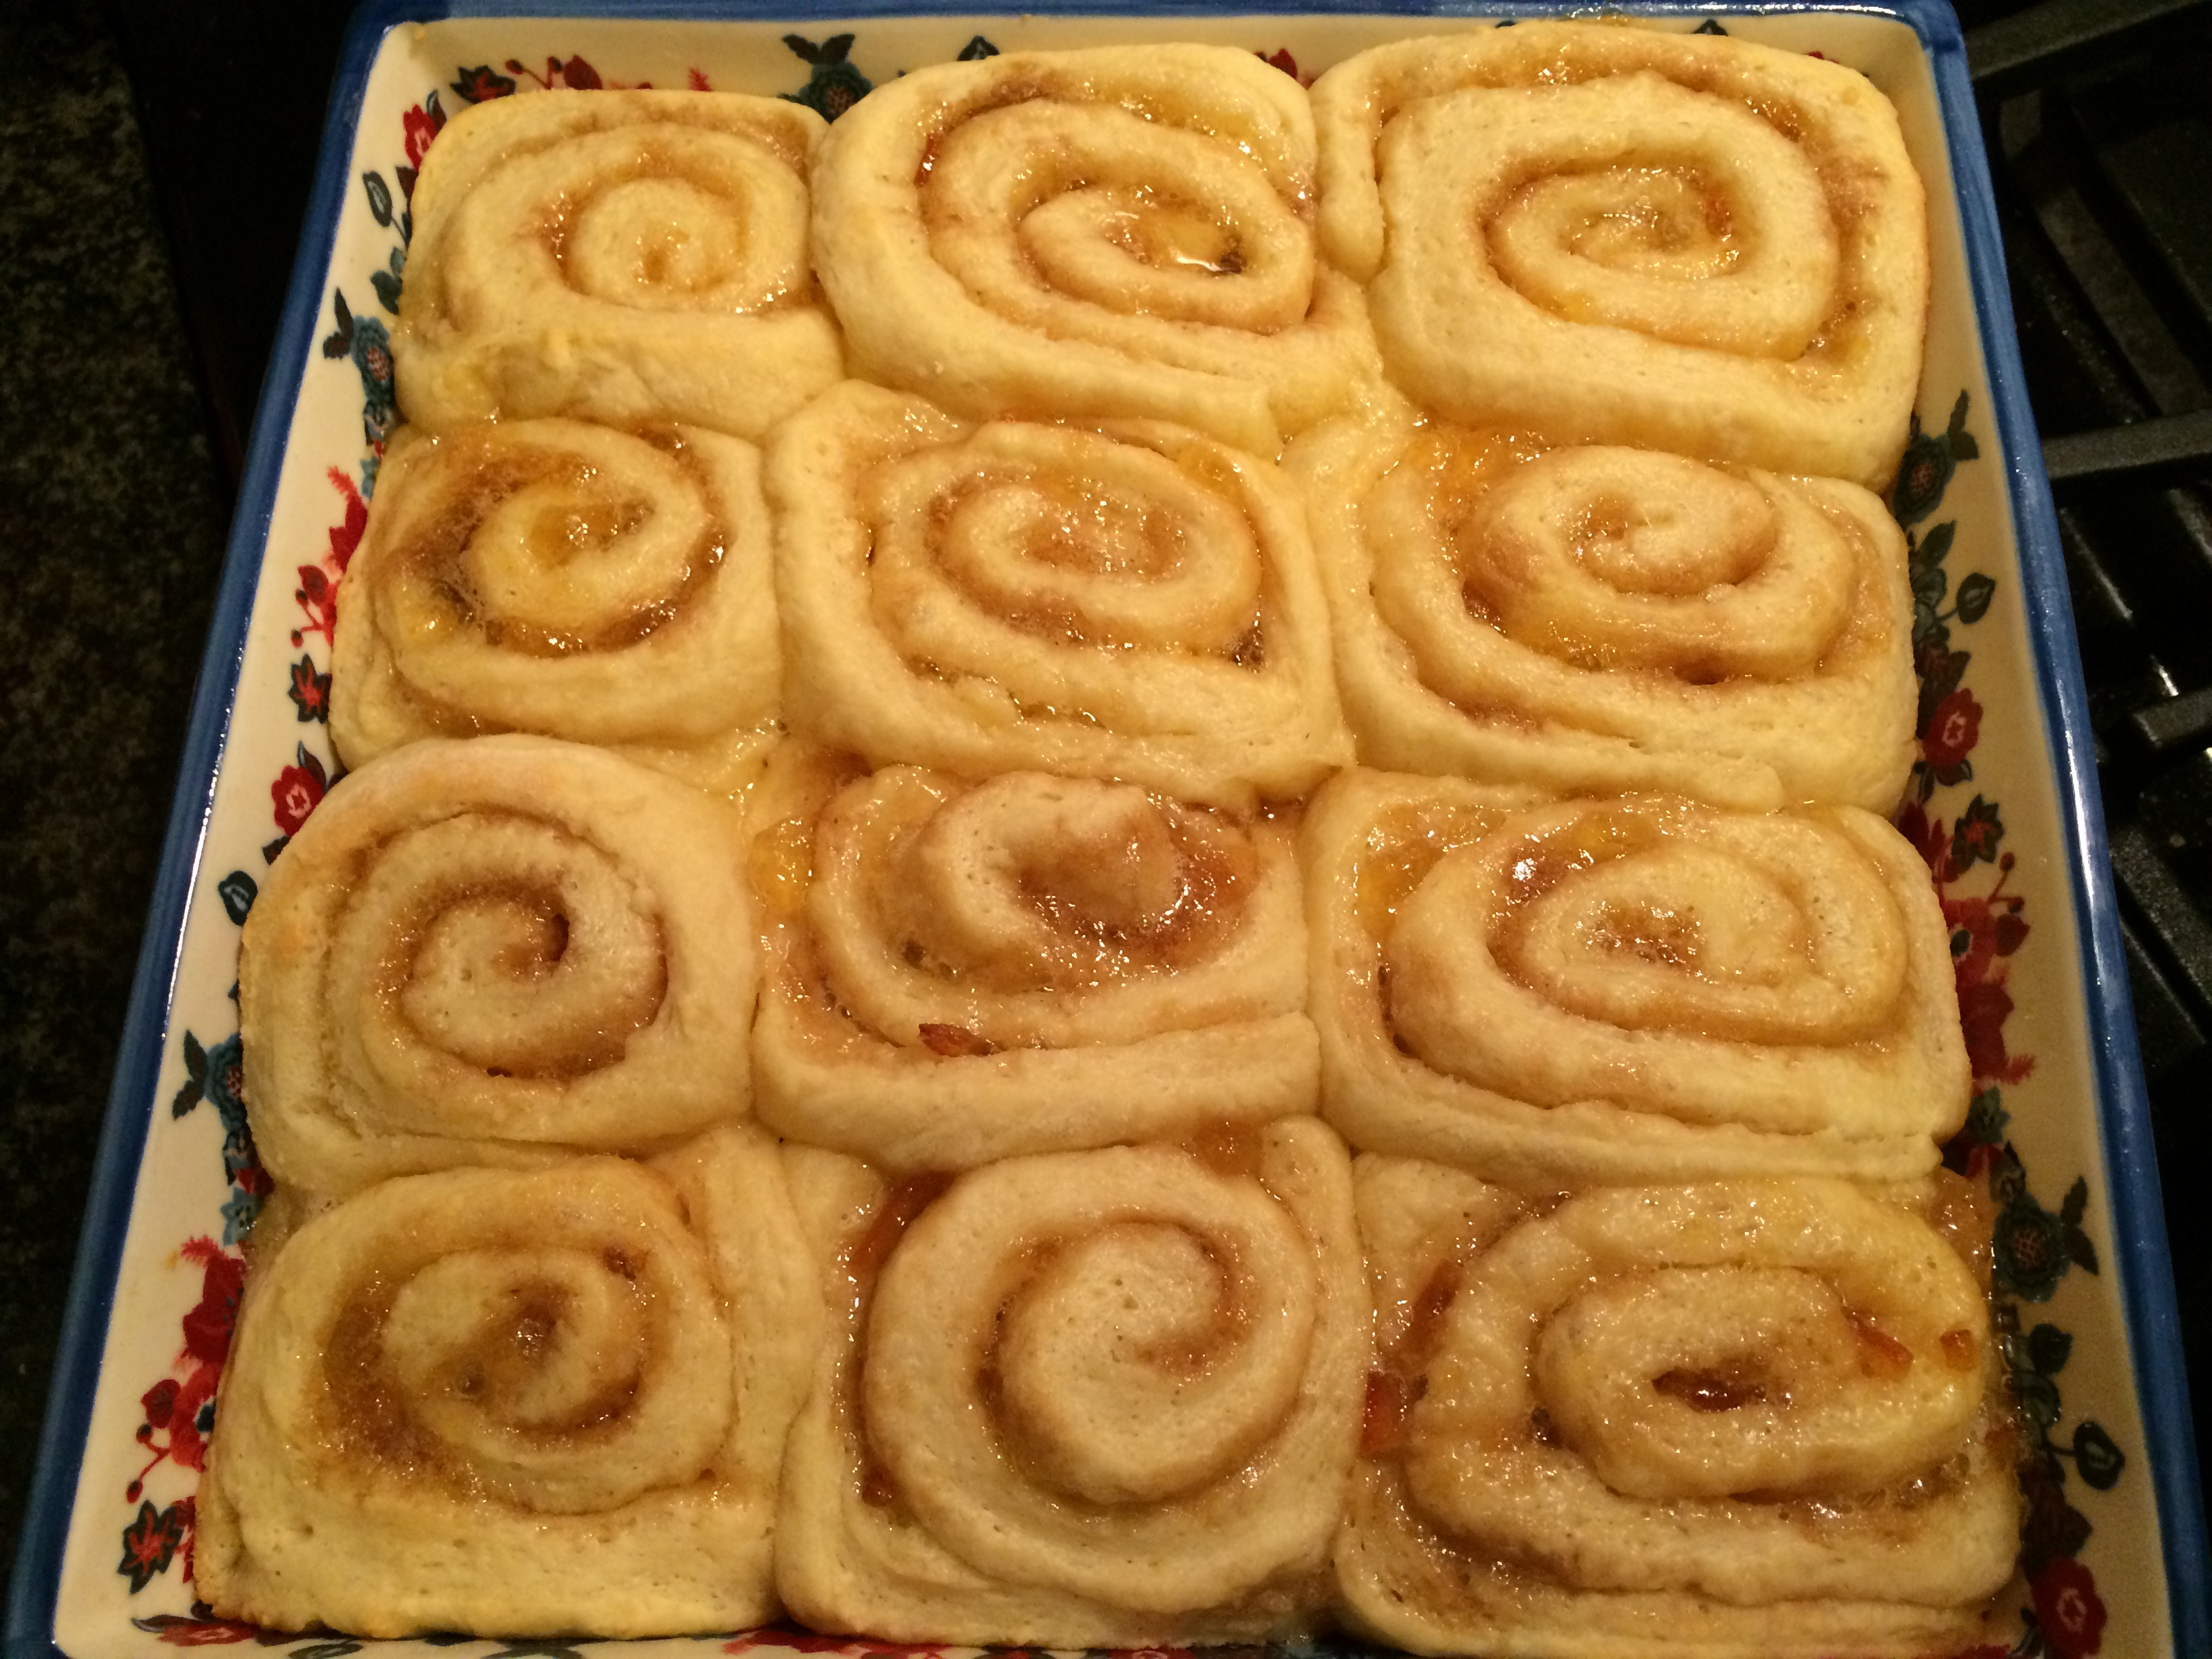
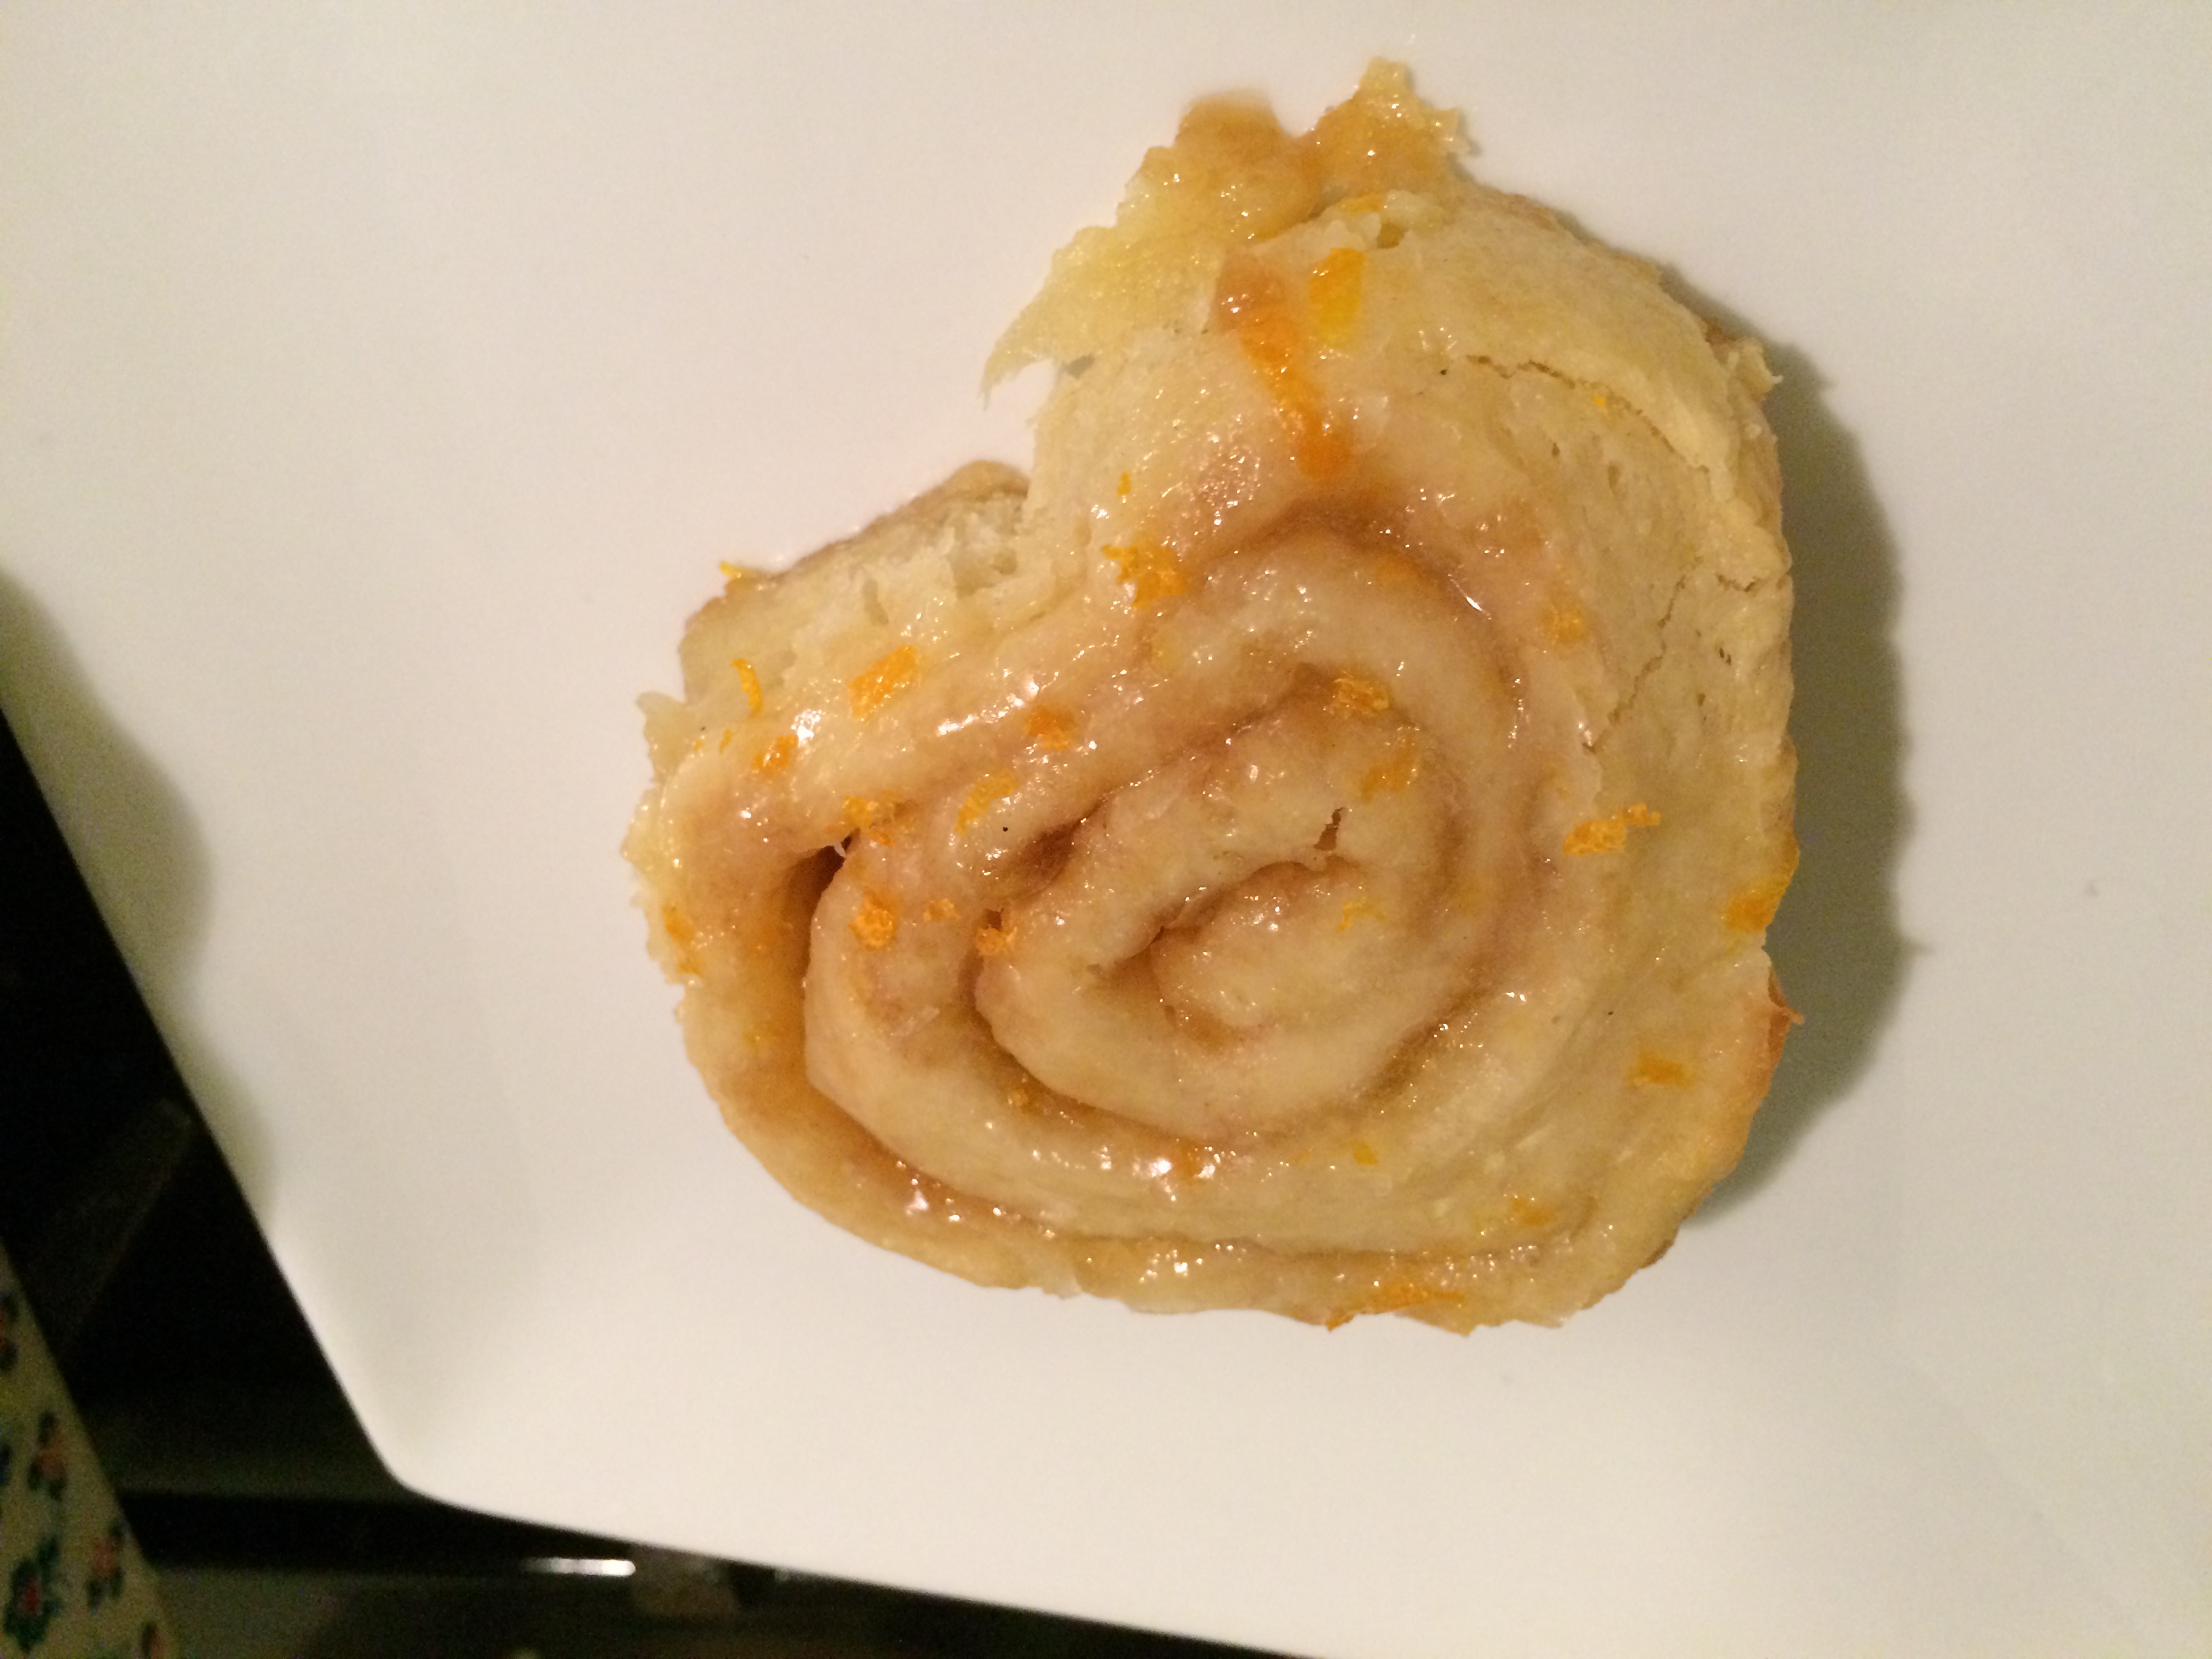
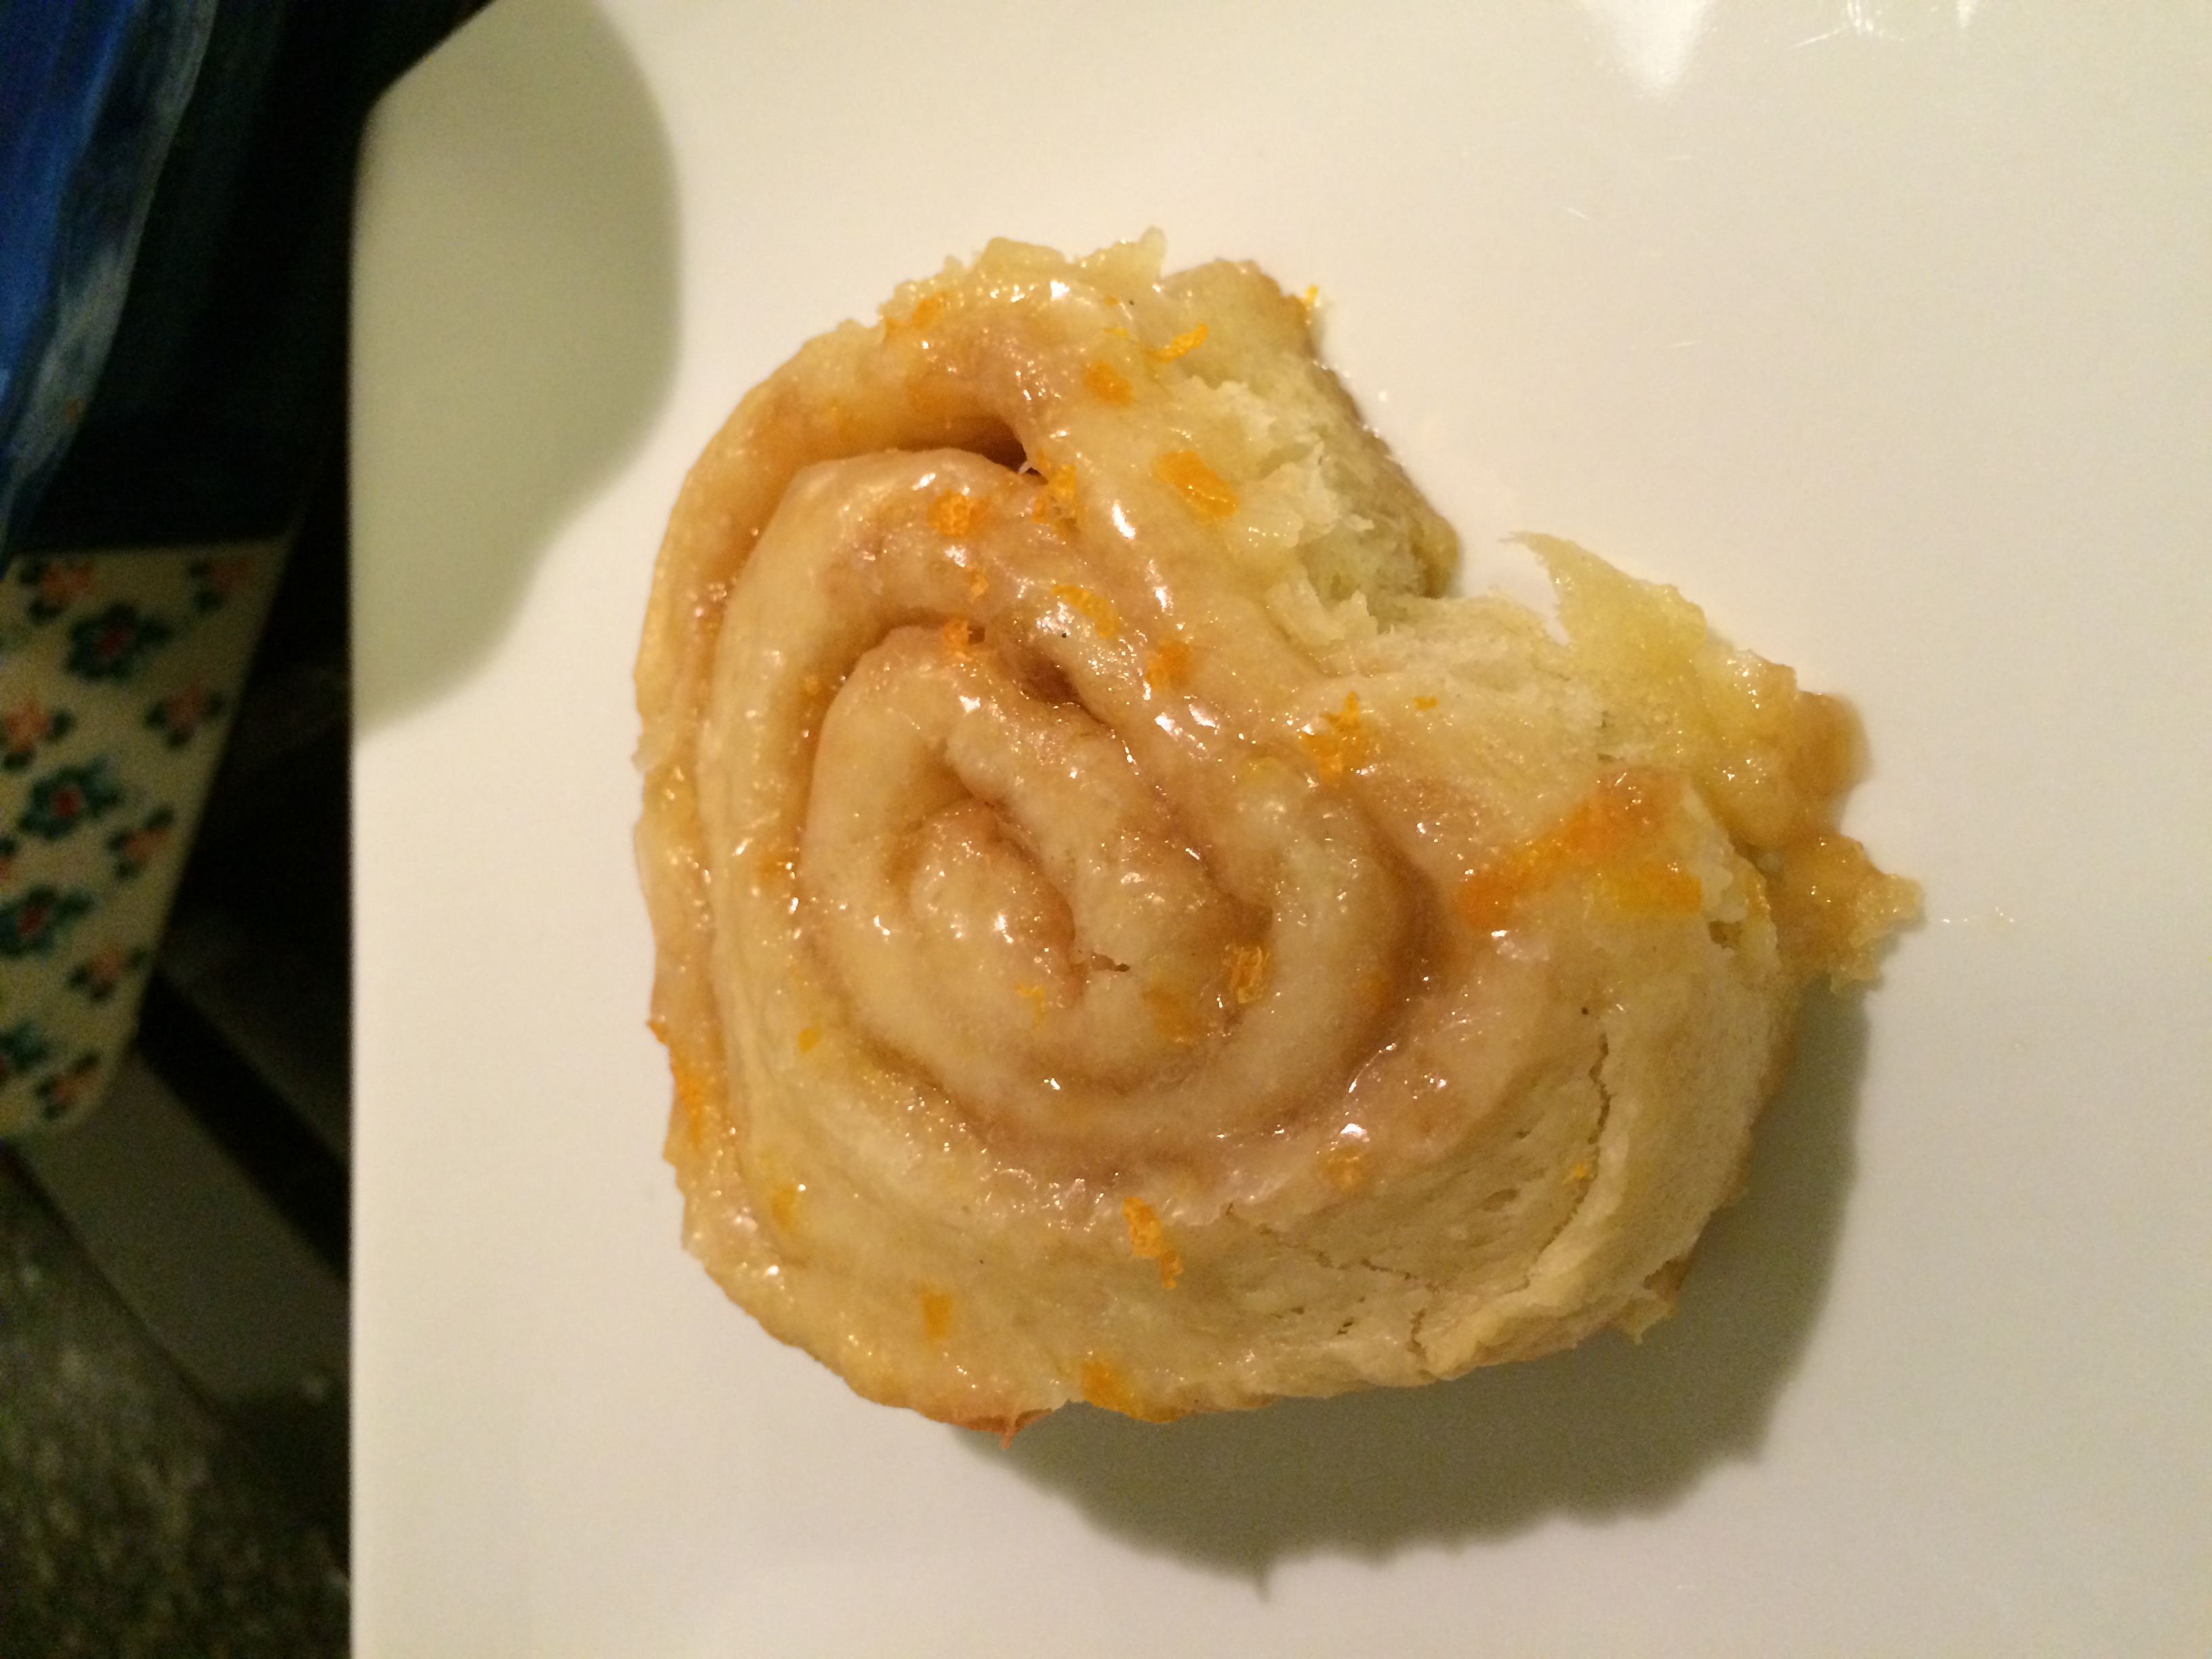
Although this roll doesn’t look as pretty and fluffy, Henry and I agreed it tasted better. Both recipes were undercooked. I was so afraid of overcooking and having them dry, they ended up undercooked. After the glaze is on I was pretty much stuck. Bummer. Microwaves are not for yeasted dough! I froze the remainder and will have to try cooking them in the oven again with the glaze and see what happens. To be continued…
Here is the recipe:
Dough
3 cups all-purpose flour, or as needed
1/4 cup granulated sugar
2 1/4 teaspoons instant dry yeast (one 1/4-ounce packet, I use Red Star Platinum)
pinch salt, to taste
1/2 cup unsalted butter, melted (1 stick)
1/2 cup buttermilk
2 large eggs, lightly whisked
Filling
6 tablespoons unsalted butter (3/4 of 1 stick), very soft – let it sit out while dough rises
about 1 cup orange marmalade
1/2 cup light brown sugar, packed
Orange Glaze
1/4 cup orange juice
1/2 teaspoon vanilla extract (orange extract may be substituted)
2 cups confectioners’ sugar
pinch salt, optional and to taste (helps balance the sweetness)
about 3 tablespoons milk or cream, or as needed for consistency
3 teaspoons orange zest, divided
DIRECTIONS:
Dough – To the bowl of a stand mixer fitted with the dough hook (or use a large mixing bowl and wooden spoon and your hands), add 3 cups flour, sugar, yeast, salt; set aside.
In 2-cup glass measuring cup or microwave-safe bowl, and the butter and heat to melt, about 1 minute on high power.
Add buttermilk to melted butter and warm to temperature, about 45 seconds on high power in the microwave. (Based on the type of yeast used, milk temperatures will vary. Red Star Platinum yeast calls for warmer temperatures than most, 120 to 130F; other brands and yeast call for much lower temperatures, about 95 to 105F. Heat the mixture according to manufacturer’s recommendations on the packaging. Taking the temperature with a digital thermometer is highly recommended, but if you’re not, make sure the milk is warm, not hot. Err on the cooler rather than hotter side so you don’t kill the yeast.) If the milk separates or gets a little funny looking after being warmed, whisk it to smooth it out.
Add butter-buttermilk mixture to the dry ingredients in mixing bowl.
In a small bowl, crack and lightly whisk the eggs, and then add eggs to mixing bowl.
Turn mixer on low speed and allow it to knead dough for about 5 to 7 minutes (about 7 to 10 minutes by hand using a wooden spoon and then switching to your hands). 3 cups of flour and 5 minutes is perfect for me, but if after 5 minutes your dough is very sloppy, wet, and won’t come together, add up to 1/4 cup flour, or as needed until it does come together. However, the more flour added, the denser and heavier the rolls will be; wetter dough is preferred to overly dry. If dough is dry or crumbly, drizzle in buttermilk until it comes together.
Remove dough from the mixing bowl, spray a large bowl with cooking spray, place the dough in the bowl, and flip it over once so it’s lightly oiled on both top and bottom.
Cover bowl with plasticwrap and place it in a warm, draft-free place to rise for about 2 to 2 1/2 hours, or doubled in size. I keep my bowl inside a powered-off oven that I preheated for 1 minute to 400F, then it’s powered off. Do not, repeat do not, keep the oven on. The pre-heated, warm oven creates a nice 85F-ish environment, ideal for yeast. If your rising spot is cold, rising will likely take longer than 2 1/2 hours.
While dough rises, line a 9×13-inch pan with aluminum foil, spray with cooking spray; set aside.
Rolling Out the Dough – After dough has doubled in size, punch it down. Turn dough out onto a Silpat or floured countertop. With a rolling pin, roll it out to about 26-by-13-inches. Use the 13-inch side of the 9-x13 pan to eyeball it, no need use a ruler.
Filling – Using a knife, evenly spread butter over dough, leaving a 1/2-inch bare margin.
Add about 3/4 cup marmalade, more as needed, and smooth it with a knife. It should be a thin-ish layer; too much and you risk it leaking, but not enough and the rolls aren’t orangey enough; use your judgment. The butter and marmalade get smeared together, which is okay.
Evenly sprinkle the brown sugar over the top, and lightly pat it down with your fingertips to help it adhere.
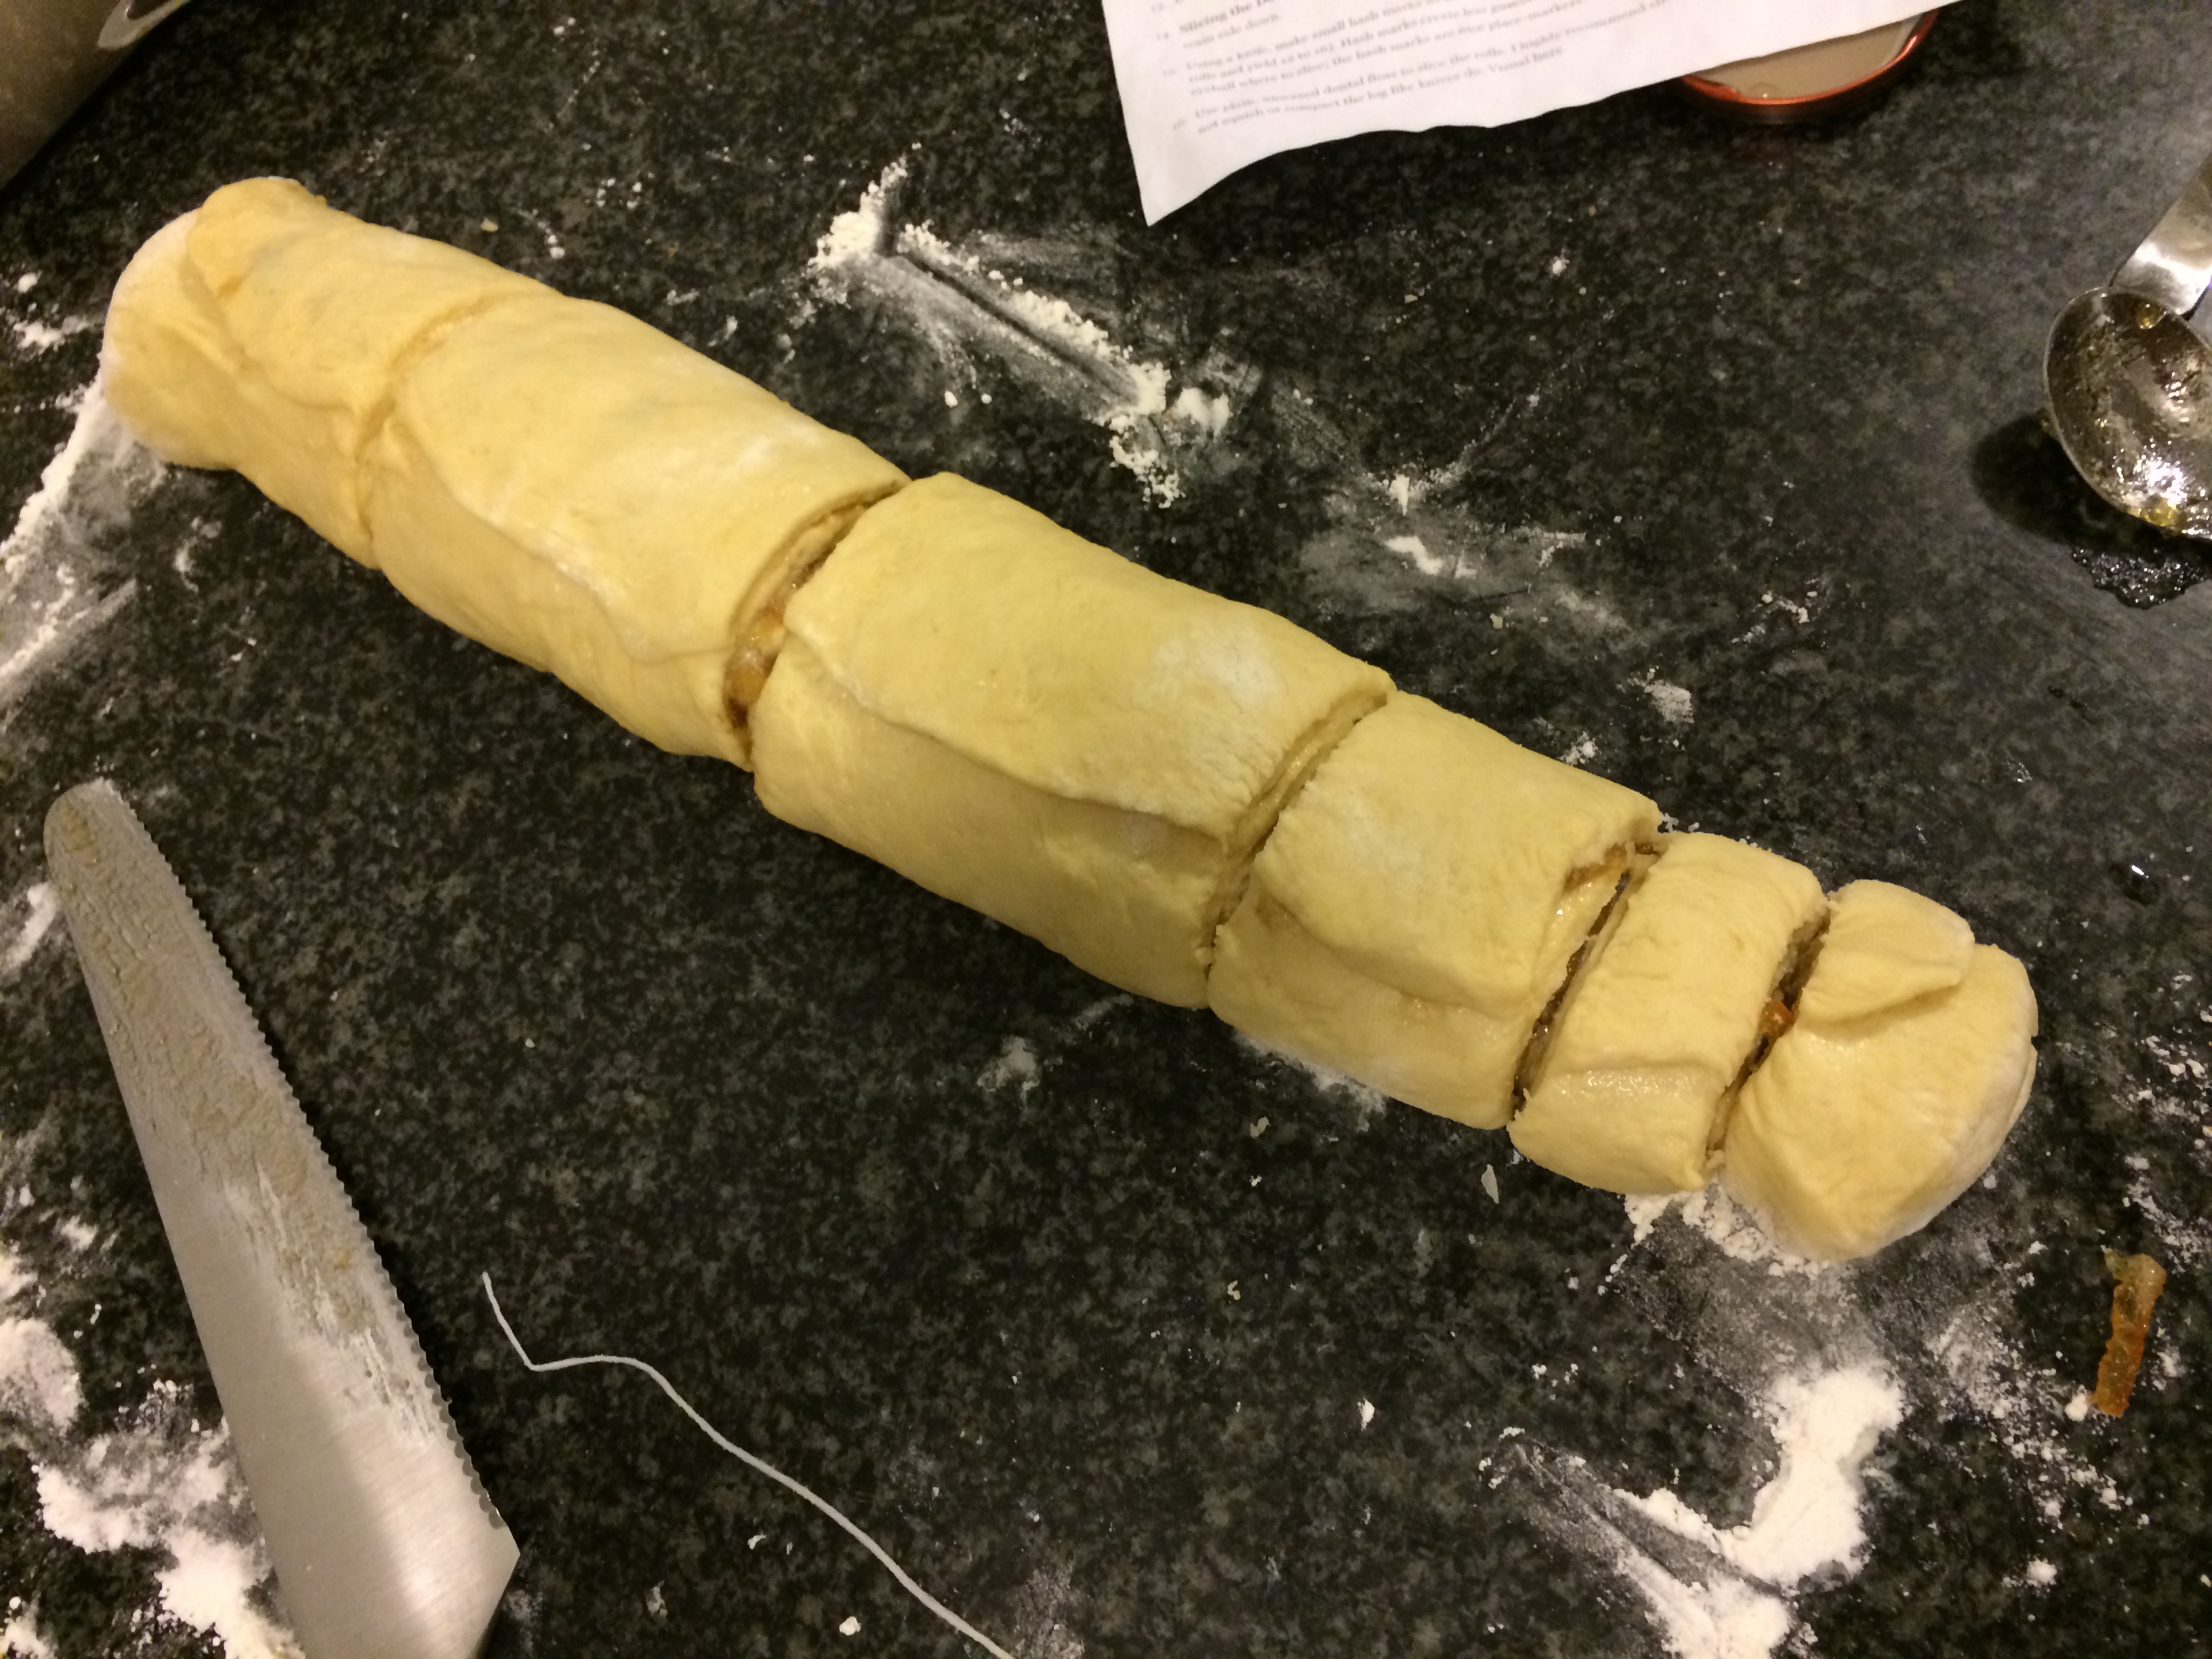
Slicing the Dough – Starting with a long edge (the 26-inch side), roll the dough into a tightly wound log, with the seam side down.
Using a knife, make small hash marks so there will be 20 evenly sized rolls (about 1 to 1 1/2 inches wide; or make bigger rolls and yield 12 to 16). Hash marks create less guesswork once you start slicing and things get messier and harder to eyeball where to slice; the hash marks are nice place-markers.
Use plain, unwaxed dental floss to slice the rolls. I highly recommend slicing the rolls with floss, not knives. Floss does not squish or compact the log like knives do. Visual here.
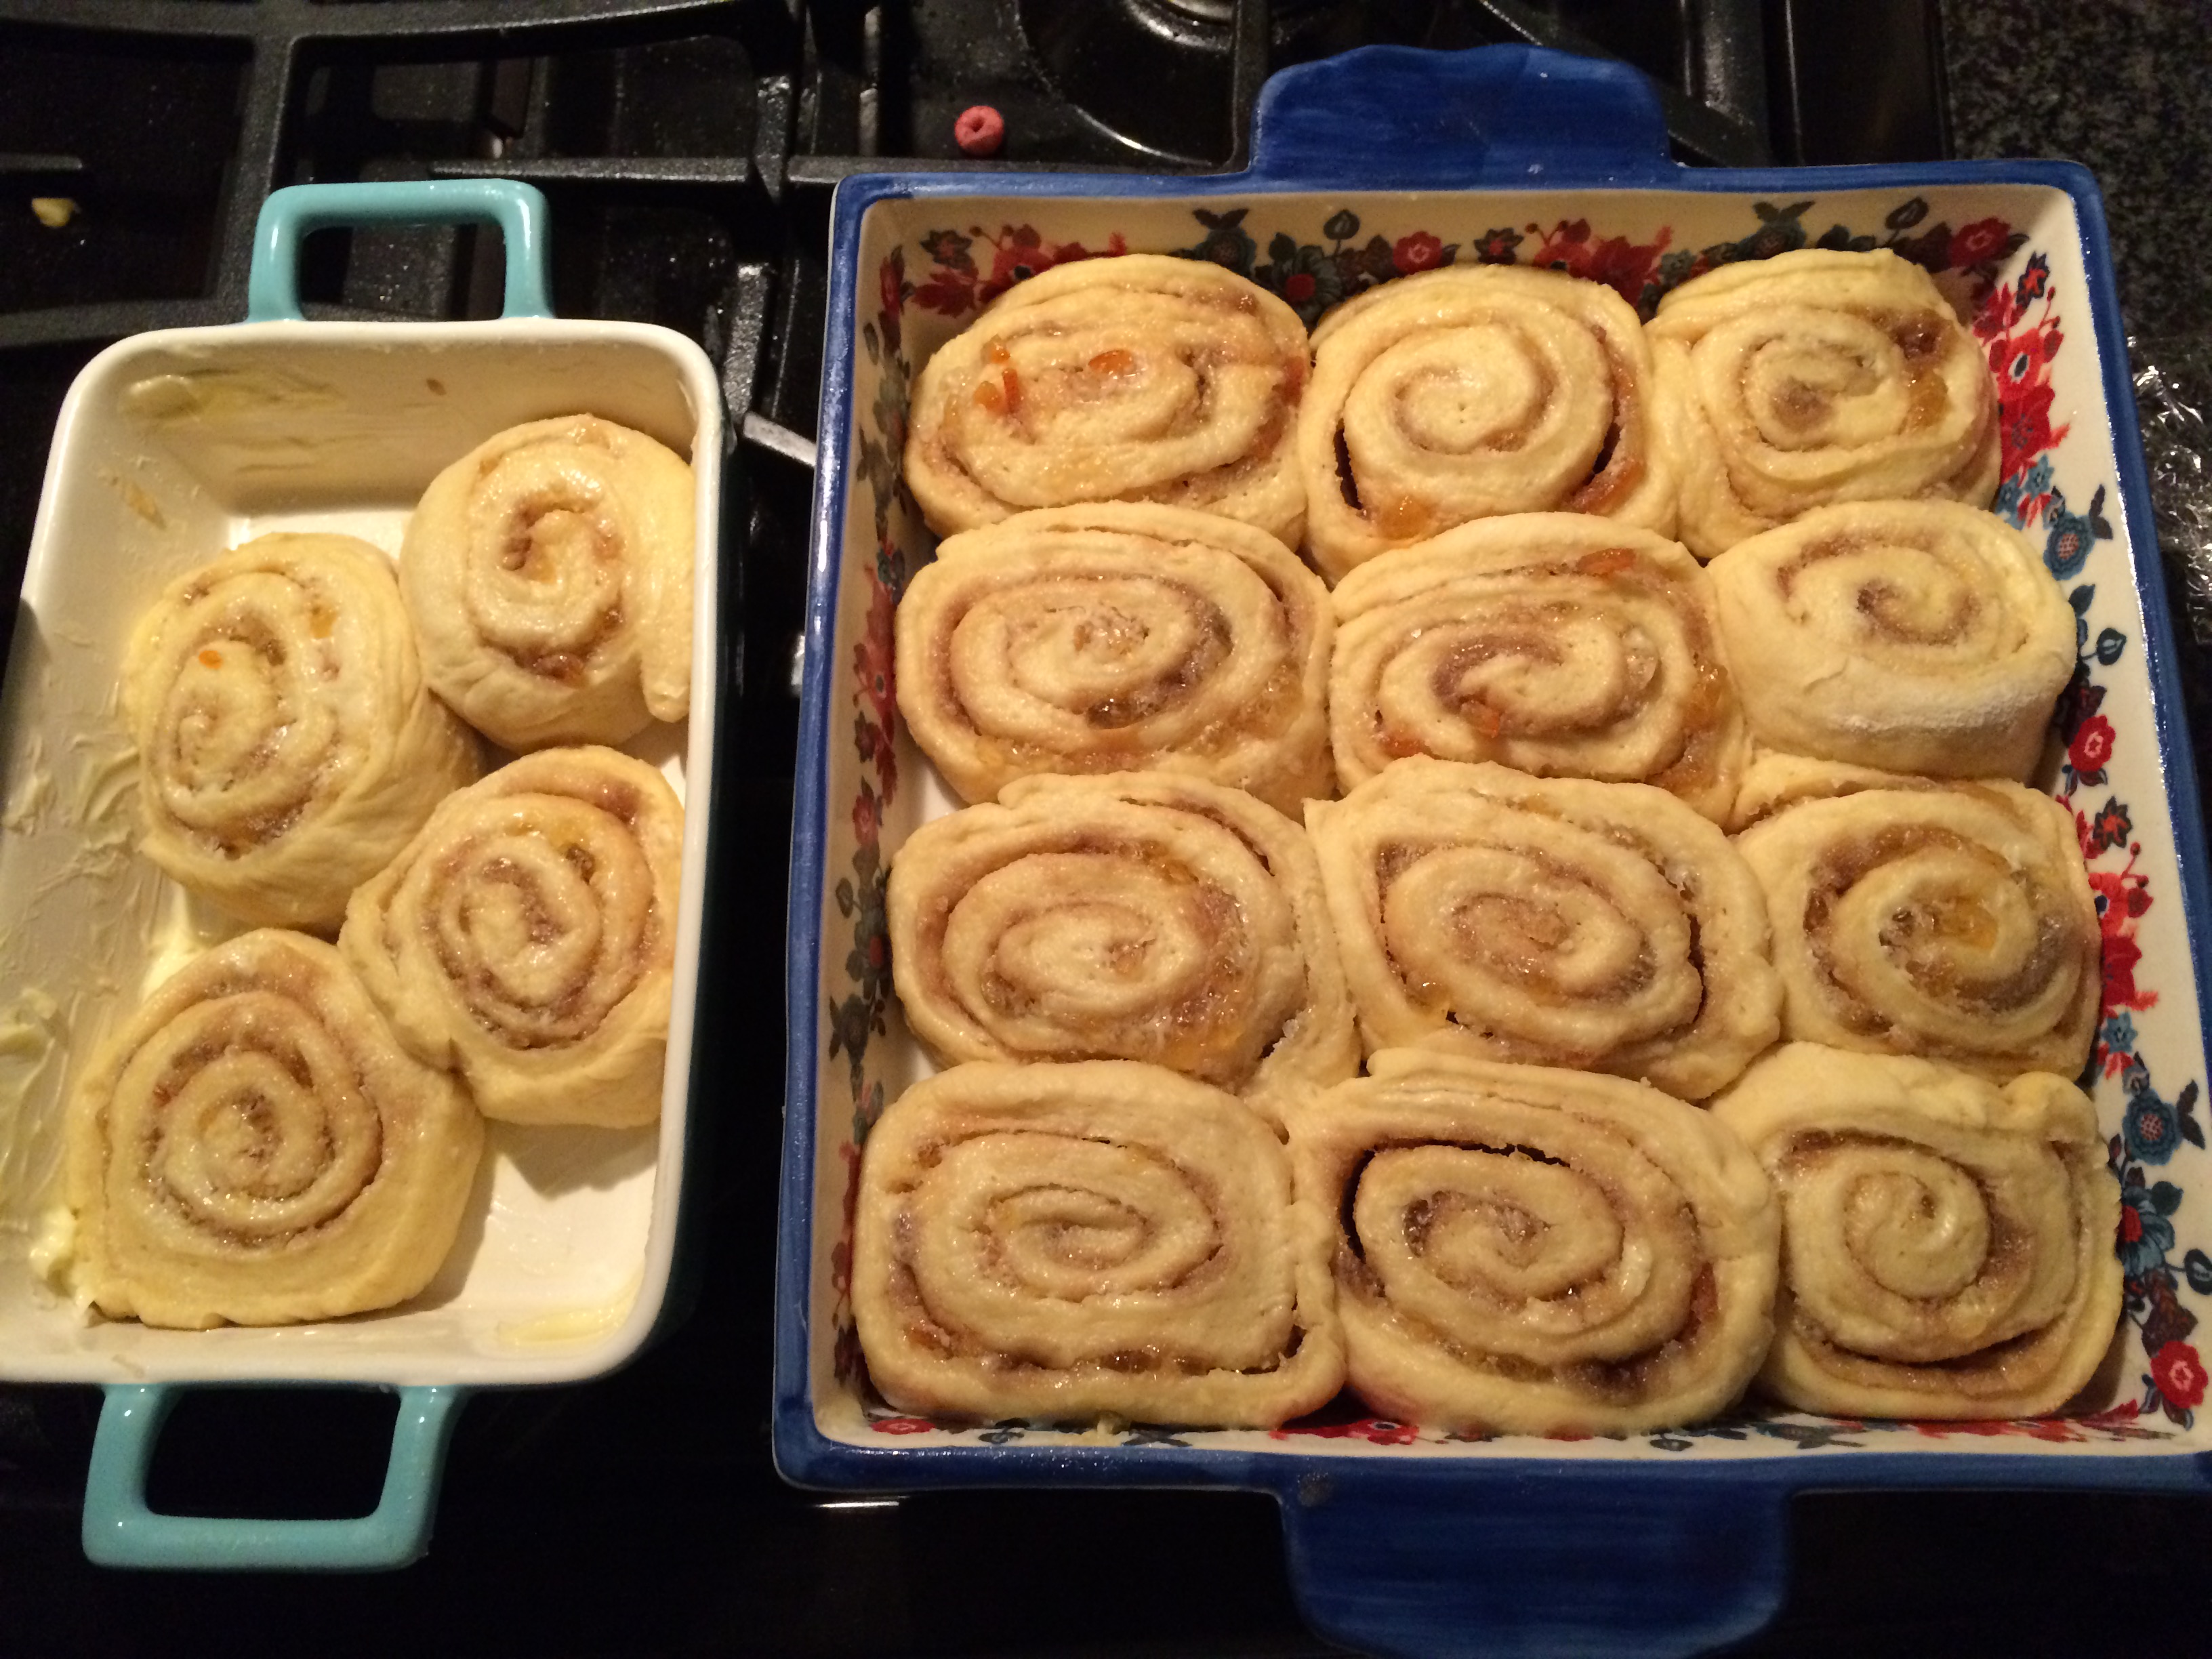
Arrange the rolls in the prepared pan, 5 rows of 4 rolls across. Cover with plastic wrap.
Make Straight Through – Let rise in a warm, draft-free place until the rolls have nearly doubled in size, about 1 hour.
Or…Make as Overnight Rolls – Don’t let rolls rise after they’ve been sliced and placed in covered pan. Place pan in refrigerator for up to 16 hours. Before baking, let the rolls rise at room temperature until they have nearly doubled in size, about 1 hour.
Baking -For either version, bake at 375F for about 15 minutes, or until lightly golden on top and cooked through (ovens, dough, and climates vary and so will baking duration, but 1 to 2 minutes matters in this recipe). Watch rolls like a hawk and don’t overbake or they won’t taste nearly as good.
Orange Glaze – In a medium bowl, add the orange juice, vanilla, confectioners’ sugar, optional salt, and whisk to combine; mixture will be thick.
Drizzle in the milk as needed until mixture can be whisked smooth and is to desired consistency.
Whisk in 2 teaspoons zest; set aside remainder.
Evenly pour glaze over rolls.
Evenly sprinkle with remaining 1 teaspoon zest.
Serve immediately. Rolls are best warm and fresh, but will keep airtight at room temp for up to 4 days; reheat in micro for about 5 seconds to re-soften or as desired. I am comfortable keeping glazed rolls at room temp and do not recommend storing them in the fridge because they will dry out. Rolls can be made and baked to completion, and then frozen for up to 6 months; unthaw and glaze immediately prior to serving. I recommend baking them from start to finish and then freezing, rather than trying to freeze unbaked dough, if you want to make in bulk in advance.